V&A Open Robe: Piecing Together the Silk
(Please excuse the messy sewing area, what can I say.... and the wrinkles in the silk. I promise I ironed every inch of this silk before I started...but with all of the cutting, pinning, sewing, etc, it doesn't look like it. I have a feeling this one is going to be a wrinkly mess at all times.)
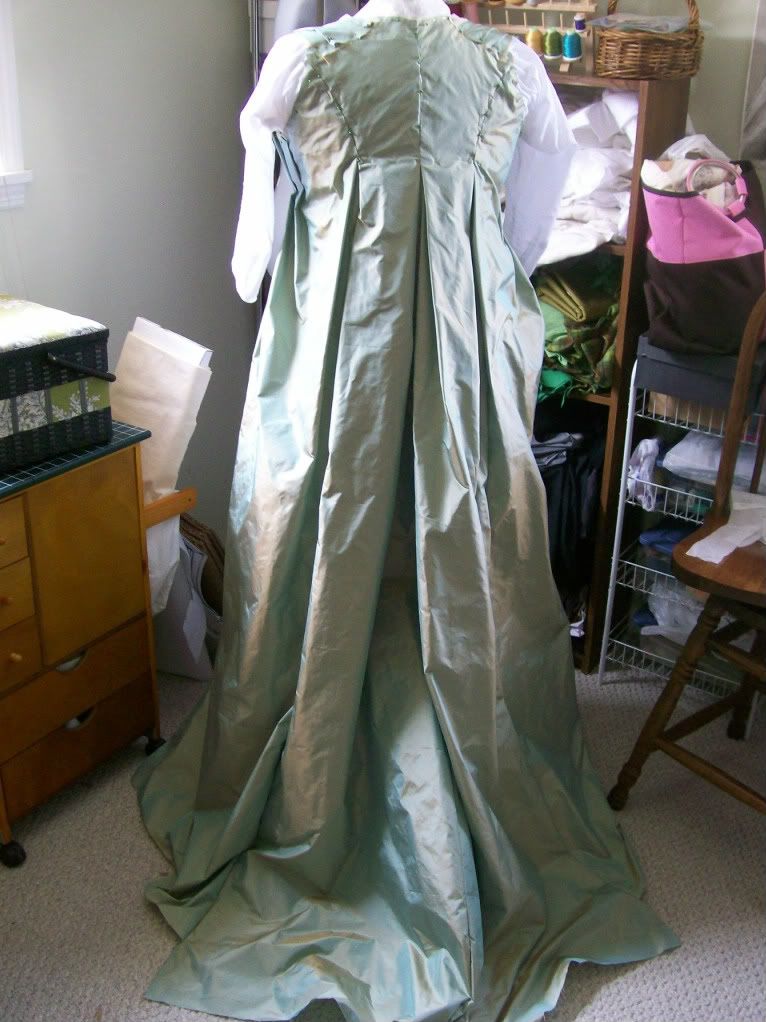
An update on my V&A Open Robe...
All of my silk is cut, and I've pieced it together on my manikin. I've tried to place pins only in seam allowances, or in places that I will be stitching, as pins leave holes in silk.

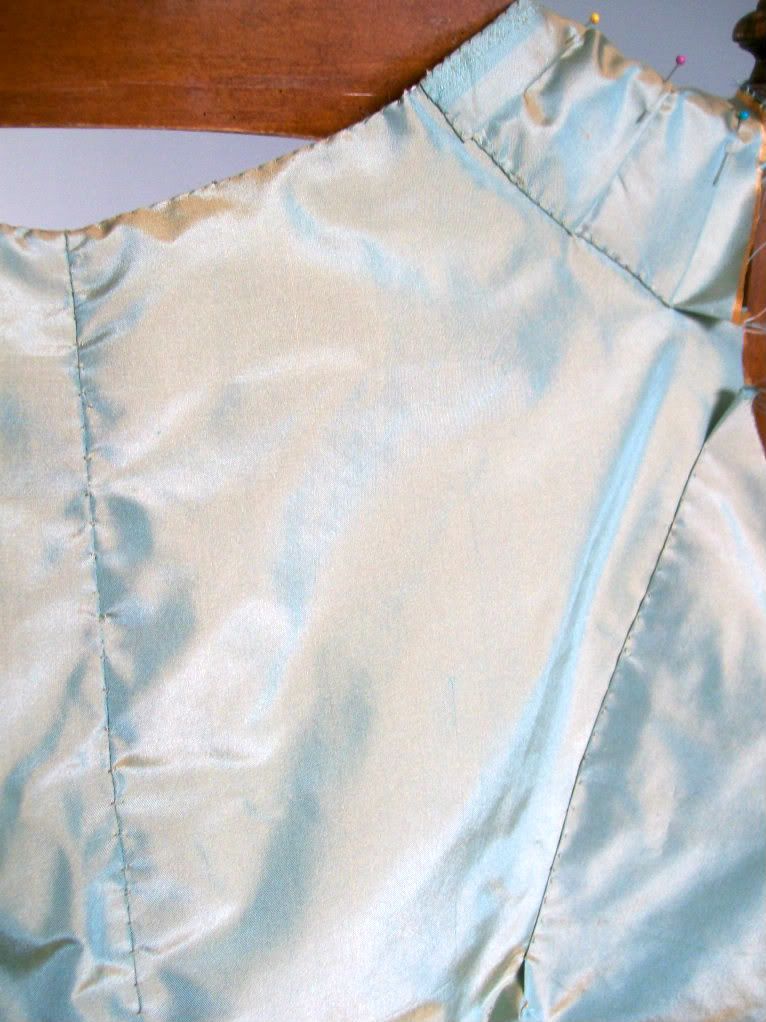
The silk isn't terribly hard to work with, but it is a bit stiff. That means it drapes differently than my cotton muslin mock-up did. The only real issue with this was the side-front bodice pleats. They were fiddly and I had to redo them 3 or 4 times before I got them to stay where I wanted them to stay. Even so, I'm still not completely happy with the top edge of the pleat closest to the arm. It buckles a bit. But, being that it's only pinned down, I'm hoping that stitching the pleat down to the lining (like I'm doing with all of the pleats) will tame the wild parts.

The other part that buckled and wrinkled a bit on the muslin was the side bodice area. I think I've solved what I can of this issue by inserting a pleat where a normal side seam would be. Other than that, I think it will be what it wants to be.
I've started to construct/sew the seams together (all hand sewn, of course), and let me tell you, I sat around for a good while scratching my head and wrinkling my brow in thought before I puzzled out the order of construction. I had a good idea of what KIND of stitching I would use for each seam. But the problem is, it's a bit like a domino affect, one seam leads to another, and if you don't sew them in the correct order, all of the dominoes won't fall. I really don't like redoing things...so lets hope I got the order right.
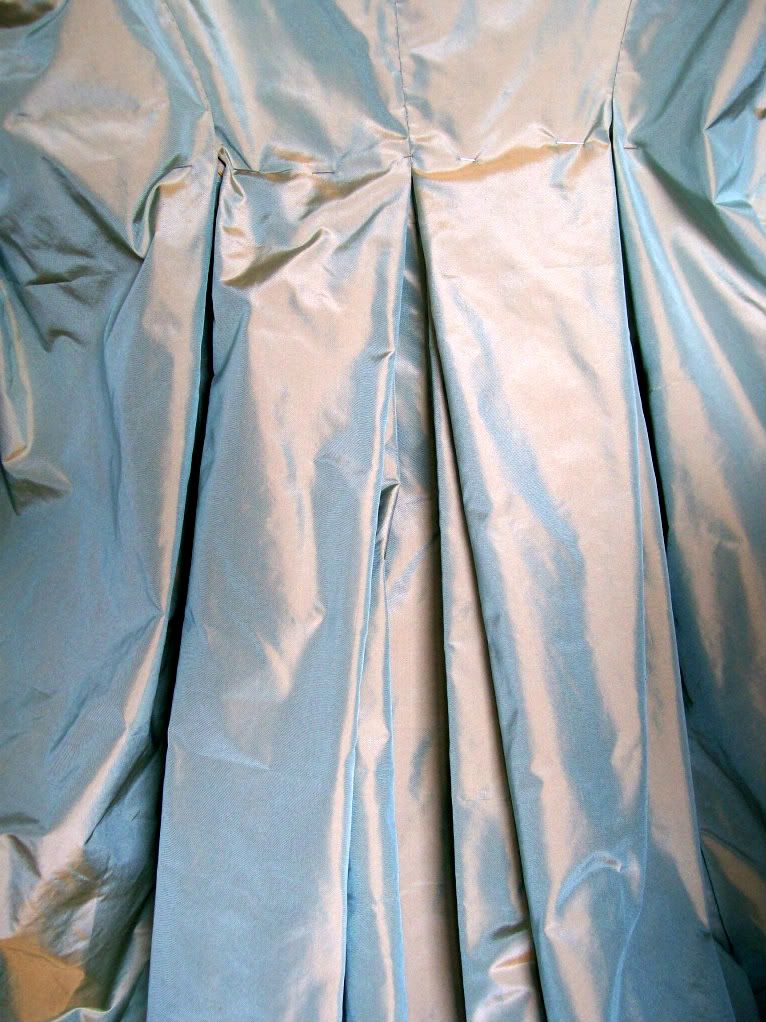
I wanted to put this picture in here, because I'm loving the huge box pleats and double box pleats (is that even a term?) used in the skirt. The pleats aren't sewn into place yet, only pinned, but aren't they gorgeous!
I'm not finished sewing; I only have about 1/3 of it done. I'm confident that it will be finished before the Jane Austen Festival in July. My only other quandary is...should I make this garment with sleeves, as the original V&A gown has? or Should I make it sleeveless? I've seen fashion plates showing open robes worn both ways. It will, of course be worn over my white gown, which makes me think that making sleeves isn't necessary. I have just enough fabric left to make two sleeves that are short in comparison to my white gown's sleeves. They would be narrow, semi-tight sleeves, ending about mid-way between my shoulder and elbow, with the white gown sleeves showing underneath. What say you? Sleeves or no?


Comments
I think it looks fine without sleeves.
http://livingwithjane.blogspot.com/2010/04/sewing-round-gown-together.html
This made seam construction ORDER very important.
As far as the order goes...I'm not done yet, so time will tell if this is correct or not...but I obsessivly pinned EVERYTHING together first, and then slowly made my way through the seams. It is extremely important to have everything folded correctly first, or I don't think this won't work.
I started with the center back seams of bodice and lining, which I sewed the normal way of right sides together and straight stitch. Then I stitched "in the ditch" of the center back seam with very tiny stitches to make sure the bodice and lining are held together. Then I did the top bodice and lining edges. I folded the bodice and lining edges in toward each other, and whip-stitched them. Next came the back-side seams, then the shoulder seams. I prick stitched these. Then, I did the long skirt seams and folded the pleats into place. This is as far as I've gotten.
I haven't sewn the pleats down yet, these will be next, I think. Then the bottom of the bodice and lining, turning them in on themselves and whip stitching. And finally the large pleats along the front/side bodice.
*phwew!*
I hope that made sense...like I said, it's a very complicated process, and I don't think it will work unless everything is already folded into place. But also, this is just MY way of doing it...and I can't gaurantee this is the CORRECT way to do it. I'm a little O.C.D. with things like this.
I hope that helped.
:0)
Yay! The robe is looking splendid, and that is the best term, for it truly is regal. Those pleats...
You know, I'd try it sleeveless, for it will play a nice riff on the robe design. If the effect is too piecey in terms of color, then add the sleeves. In addition, you might prefer the look of your arms in something less shiny than the pearlescense of that fabric.
Very best,
Natalie