RHF Regency Men's Waistcoat: Tutorial, Part 1

A fellow blogger, Josh, of The-Gardener's-Cap, recently came to me with a request for a tutorial on the Regency Men's Waistcoat that I made for my husband last year. HERE is the original post. I used the Rocking Horse Farm 1790-1820 Gentleman's Waistcoat pattern. It seems, that like me, he can make neither head nor tail of the pattern's instructions. All I remember about making up this waistcoat, is that there was a lot of guess work involved. I believe the pattern instructions are written in Alien.
All that being said, I agreed to make a tutorial for Josh. I don't know what I was thinking, actually. I've never done a PROPER tutorial before. (I don't really think my post on making men's regency boots really counts.) So, Josh, or anyone else interested, please hang in there while I take it slowly, and don't hesitate to ask questions if I am not making any sense. I will probably be making most of this up as I go along.
Hopefully I can post this up in 3 parts, but my goal is to be finished with the waist coat by Sunday, May 8th....that's in one week. Can I do it?
Let me write a brief disclaimer. I am not a professional seamstress. I don't have a degree in fashion. I am entirely self taught, and I have only been sewing for about two years. So, without further delay...here is how I would make a waistcoat.
~~~~~~~~~~~~~~~~~~~~~~~~~~~~~~~~~~~~~~~~~~~~~~~
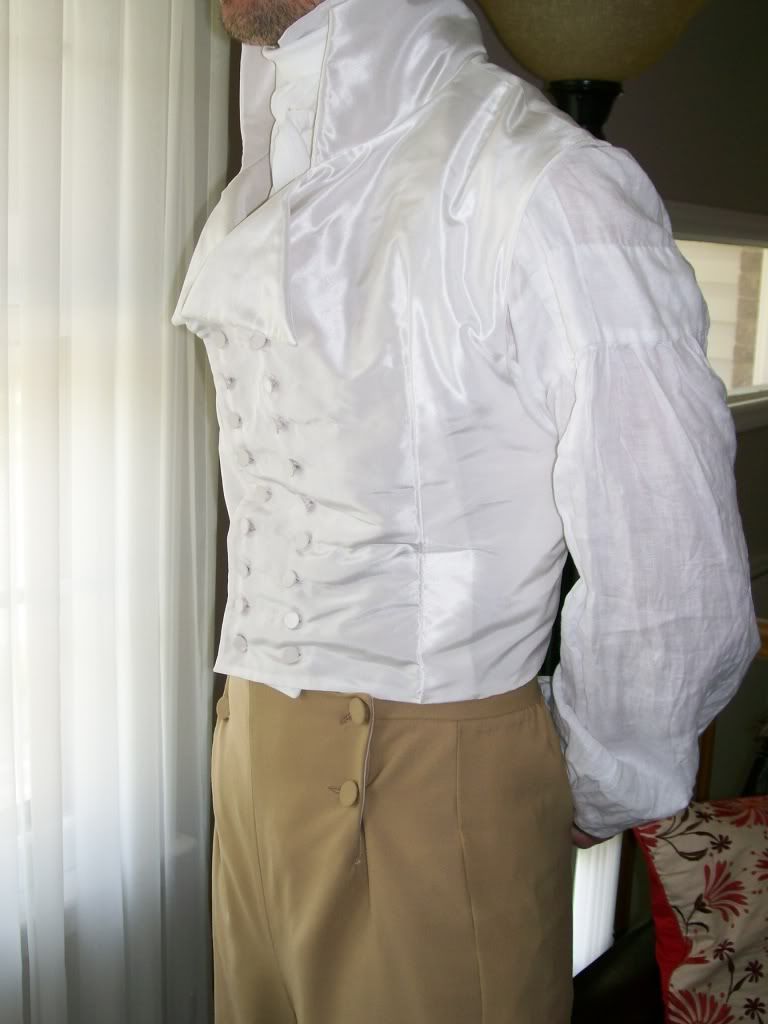
First of all, I highly recommend everyone make a mock-up out of cheap muslin, old sheets, whatever. I found that this pattern runs large. I took my husband's measurement, cut out all of the pieces, and after sewing it up, had to make a lot of alterations to fit his shape. You really want waistcoats in this era to be quite snug. It was the fashion of the day.
For this tutorial, I will be using some old blue, striped cotton that I had sitting around on a shelf. Consider this my mock-up. I will make him a better one out of linen probably next month. Also, the period correct way to do this would be to hand sew everything. You can choose to do that or not. For my mock-up, I'm not going to do much hand sewing...this is to save time, of course, and because he won't be wearing this in public. I will hand stitch the real one.

Step One: Cutting out pattern pieces
I rarely cut out my pattern pieces straight up. I prefer to keep the pattern in tact so that I can use various sizes of the pattern at a later date. I usually trace the pattern onto Swedish tracing paper, making sure I transfer ALL of the markings. But you can do whatever you want. Just carefully cut out all of the needed pattern pieces.

Step Two: Cutting out the Fabric
Here's what you will ultimately need:
2 Front pieces (in your fashion fabric) (mine is the blue striped)
2 Front Facings (in your fashion fabric)
2 Back pieces (in your fashion fabric)
4 Collar pieces (in your fashion fabric)
2 Front Interfacing (in a heavy canvas or jean material) (use the same pattern you use for your Facing)
2 Collar Interfacing (in a heavy canvas or jean material) (use the same pattern you use for your collar)
2 Front Lining (use a cotton or linen) (use the same pattern you use for Front)
2 Back Lining (use a cotton or linen) (use the same pattern you use for Back)
5/8" seam allowance is included, and assumed throughout the making of the waistcoat. However, there are a few instances where a 1/4" s.a. is used.

At this point, I would only cut out the 2 Front and 2 Back pieces of your fashion fabric, because I assume you are going to do a fitting. Once you've fitted this, then you can use these pieces as your patterns for the lining. So DON'T CUT OUT YOUR LINING YET! You can also cut out your 2 Front Facing and 4 Collar pieces, as well as your 2 Front Interfacing and 2 Collar Interfacing and set these aside until after the fitting. These pieces shouldn't be affected by the alterations. The only thing that would be affected is the Front Interfacing. If you are shortening or lengthening your waistcoat, then you will need to do the same thing with your Front Interfacing. I won't be doing that, so I went ahead and cut them out.

Cut out your Fashion Fabric and transfer all of the markings.

Cut out your Interfacing, and transfer all markings.
Step Three: Sewing your Mock-Up

You will need to start out by sewing together the two back pieces down the center. Since this is just for fitting purposes, I always baste my seams. It makes it easier to pick apart the seams afterwards.

Place the two back pieces right sides together, and pin along the center seam.

Stitch together the two pieces along the center seam. (Remember it's 5/8" s.a. unless otherwise noted.)

Open up the back pieces and press open the seam.

Next, we will attach the shoulders seams of the back and front pieces. With right sides facing each other, pin together the front shoulder piece to the back shoulder piece. Do this for both sides. Make sure you have the right and left front pieces in the correct place. The scythe should be off to the side of the back piece, not reversed and in the center.

It should look like this when both shoulders are pinned together. The back piece is underneath the two top pieces. And the two top pieces over-lap in the front.

Here's a close-up of the shoulders pinned together. Stitch both shoulder seams.


It should look like this when opened up once the should seams are done.

The trickiest part of this are the curved side-back seams. With right sides together, pin together the back side seam, and the front side seam. The front side seam is the curved, scythe-like area. Since it is curved, you will have to ease it into place as you pin.

Pin both back side seams. It will look something like this on the back once it is pinned. I found that the scythe area seam didn't match up completely with the back seam. If you start pinning at the bottom, then as you ease around the curve, if you have any fabric left over on the scythe side, then just let it gently run up the edge of the other fabric until it's all pinned. Stitch both side-back seams together.

Press open the side back seams.

This is what your mock-up will look like turned right side out. It's beginning to look a lot like a waistcoat now!
Step Four: Fitting your Mock-up
For fitting purposes, turn your waistcoat WRONG SIDE out.

Place it on a man.
Preferably the man you are making it for.
The first thing you will notice is that I didn't sew the darts in when I made my mock-up. I did that on purpose, because I knew from previous experience that the original darts would be too small for my husband. I will put them in later, but if you are more confident that the waistcoat size will fit, then sew in your darts before or after you make your mock-up.

Using the marks from the pattern, or just guessing, over-lap the front lapel enough for two rows of 1/2" buttons. Pin in place.

Now, because I want this waistcoat to fit snug, I'm going to start with pinching in the darts. In all honesty, I wouldn't have put darts in this waistcoat to begin with. I would have made a front side seam on each side, about 2 inches to the right of the dart in the above picture. But...it's not my pattern, so let's proceed.

If the original dart fits your man just fine, then go with it. In fact, if the whole waistcoat fits your man just fine, then lucky you! You don't have to do any altering...just put in the darts. My man is skinny, so I had to pinch in and pin quite a bit more, which makes my dart taller....which annoys me and makes me wish for a front side seam...*sigh* Anyway, I just eye-ball it and make it tight across the front, keeping in mind that we are going to take in the back seams too. (So leave it a little loose, please.)

After you pin the darts in place, mark with chalk or washable pencil the outline of the dart on BOTH sides of the dart.

Do NOT remove the pins at this point!

Most people will be fine in the shoulders, but if they aren't, you will have to pinch the seam and pin here too.

Do both shoulders and don't forget to chalk both sides of the seam.

I didn't bother taking in the center seam, but if you think the waistcoat is a too broad across the shoulders, then go ahead and take it in. Just keep in mind, that if you do this, then you will need to take in the collar center seam the same amount. I just took in the side back seams.

Pinch both side back seams until the waist coat fits snug all the way around. He should still be able to move though..... Pin them into place.

Then chalk BOTH sides of the seams.
This concludes the fitting process.
Step Five: Cutting the Adjusted Pieces

Take the waistcoat off carefully.
Double check that you marked all of your seams. Then remove all of the pins, and flatten out the seams.

You can see here the difference in the size of the dart....I long for side seams.

Next, carefully pick apart all of the seams with your seam ripper. This is why we basted the seams, because it's easier to take apart.

Lay out all of your pieces, and iron them if you wish. I didn't.

Now, be VERY CAREFUL here. You are going to trim down your newly marked seams....but you DON'T want to cut on the line that you made....you want to leave a 5/8" seam allowance when you cut. Measure carefully before cutting all of your new seam allowances.

Now, you will use these newly cut pieces as pattern pieces for your lining. If you didn't need to alter anything, then take apart your waist coat and use what you've got. Make sure you cut out 2 Lining pieces for the front.

Then cut 2 Lining pieces for the back.

Don't forget to transfer all of your markings, and your new darts to your lining pieces.
If you used a different, cheaper fabric for your muslin mock-up, go ahead and cut out your GOOD fabric. I am just going to proceed with my mock-up fabric. Pretend it's the real thing.
Now, you should have everything cut out, marked, and ready to go. Make sure you have all of your notions ready, because in the next tutorial, I will cover how to put together the Lining (with Interfacing), outer Waistcoat seams, and Collar(with Interfacing). In the third tutorial, I will go over putting all three of them together, and polishing it off with buttons, etc.
Please let me know if you have any questions.
Comments
Gail M
Yes, wonderful! Guess what tutorial I hope to use eventually?
By the way, here is additional visual information on handling curved seams -- how to "ease" them in. Remember when we did bodiced petticoats? This is from that set of meetings. Here's the link: http://zipzipinkspot.blogspot.com/2009/12/tutorial-sense-and-sensibility-bodiced.html.
Hugs,
natalie
~Melanie