18th Century Food: Onion Pye
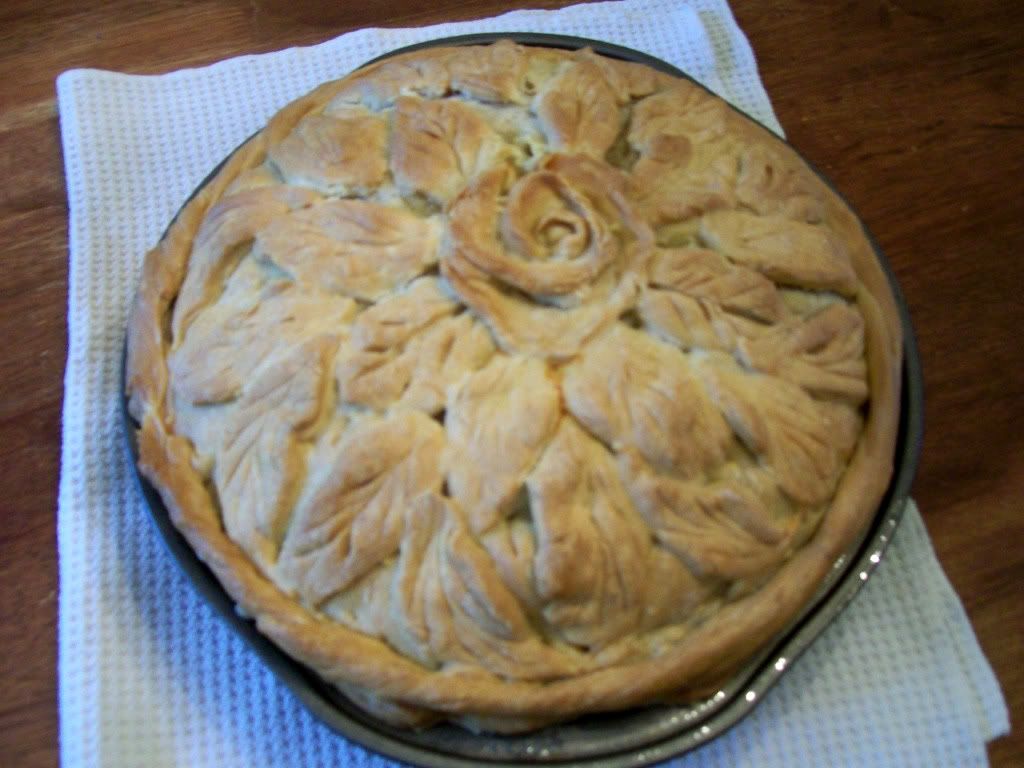
Just before the Picnic at the William Whitley house, I experimented with another 18th century recipe. This one is called "Onion Pye." I used a recipe I found on The Old Foodie. It was an excerpt from the Art of Cookery made plain and easy by Hannah Glasse, 1747. My crust recipe is from a recipe for raised pie paste that I found on Historic Food. I did my best at copying the leaf and rose design on the same page as the crust recipe.
I won't write out the recipe, since you can see the originals on their respective sites, but I will walk you through them step by step in case you are curious.
*Please forgive my kitchen lighting.*
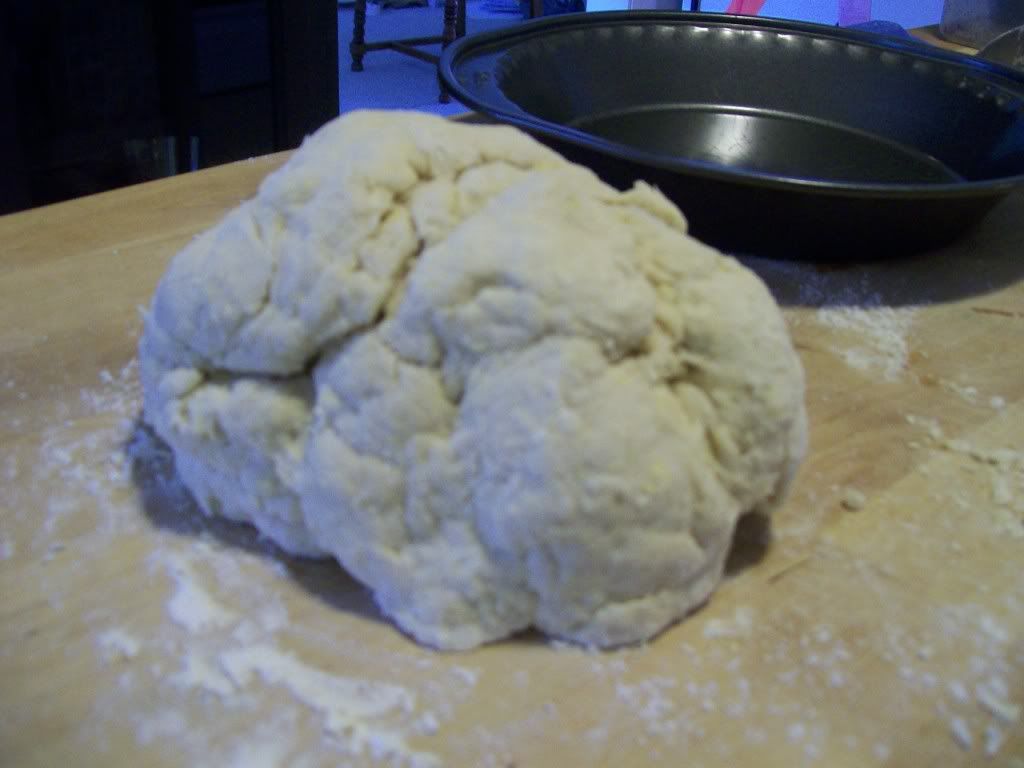
Make your dough. Again, I used the recipe from Historic Food, but any pie crust recipe will work. It just has to be stiff enough to hold it's shape if you plan on doing any molding and shaping.
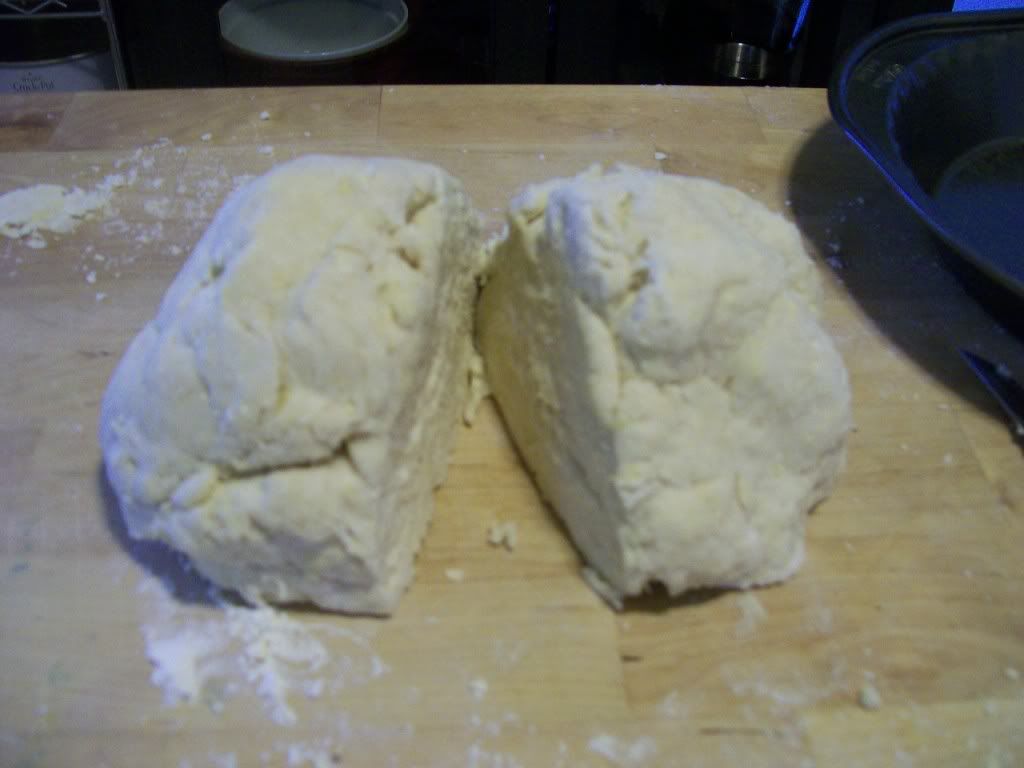
Divide your dough in half.
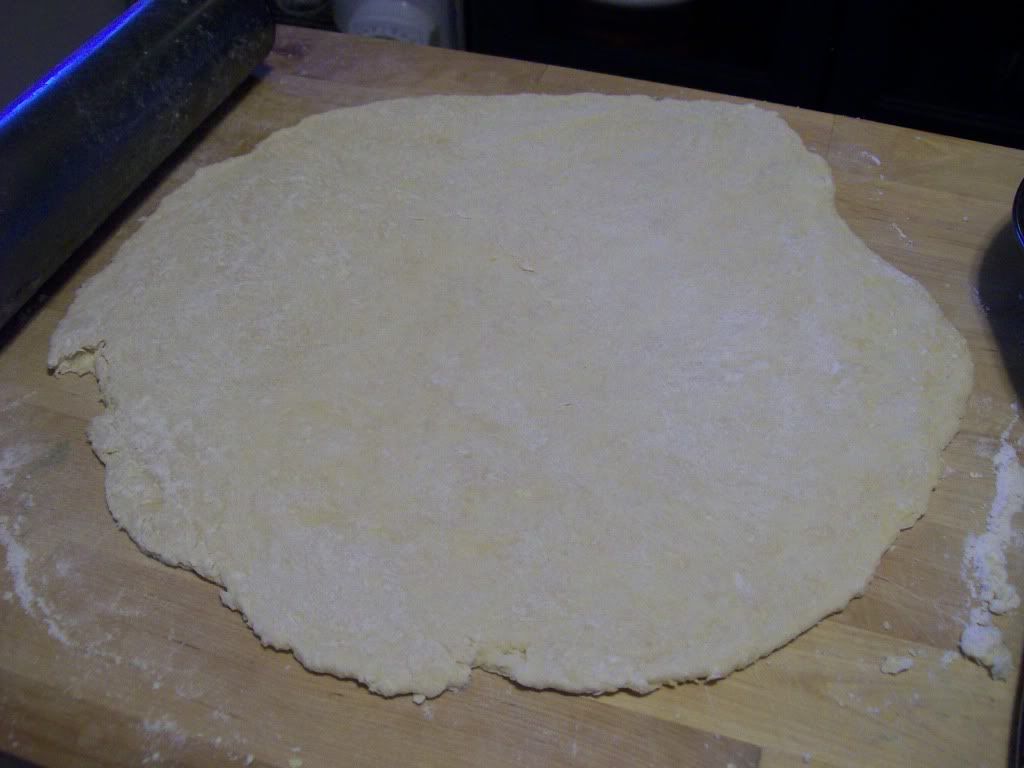
Roll out one half of the dough so that it is large enough to spread generously over a pie pan.
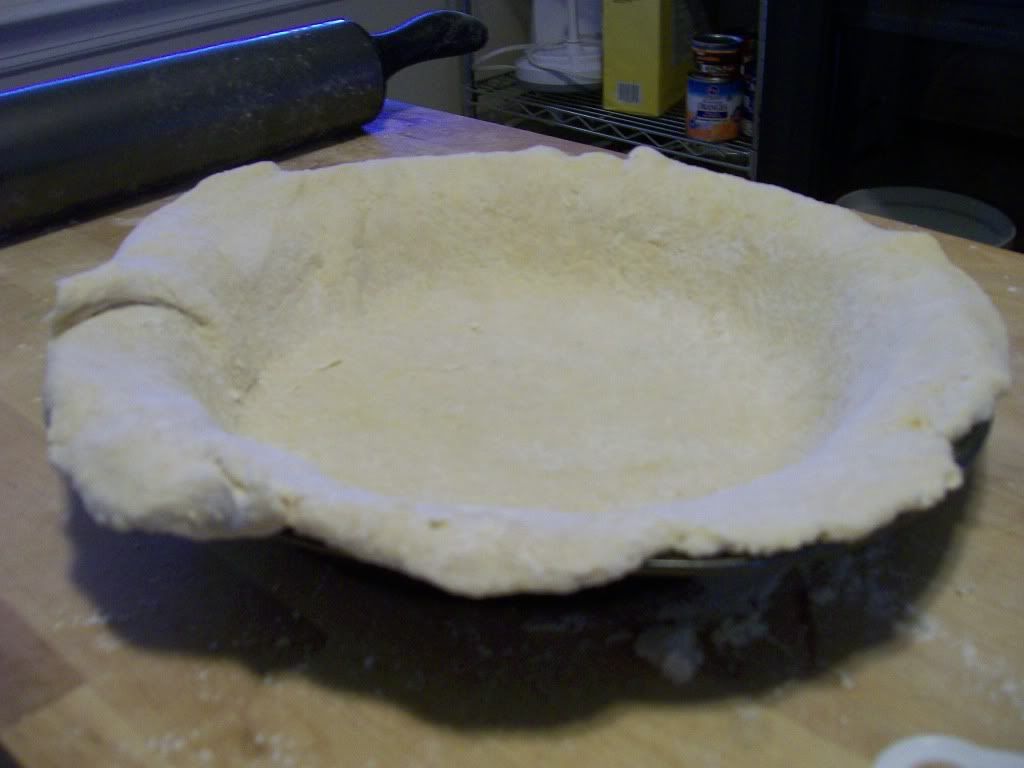
You really want it spread thin enough so that extra dough hangs over the edges...we will trim it later.
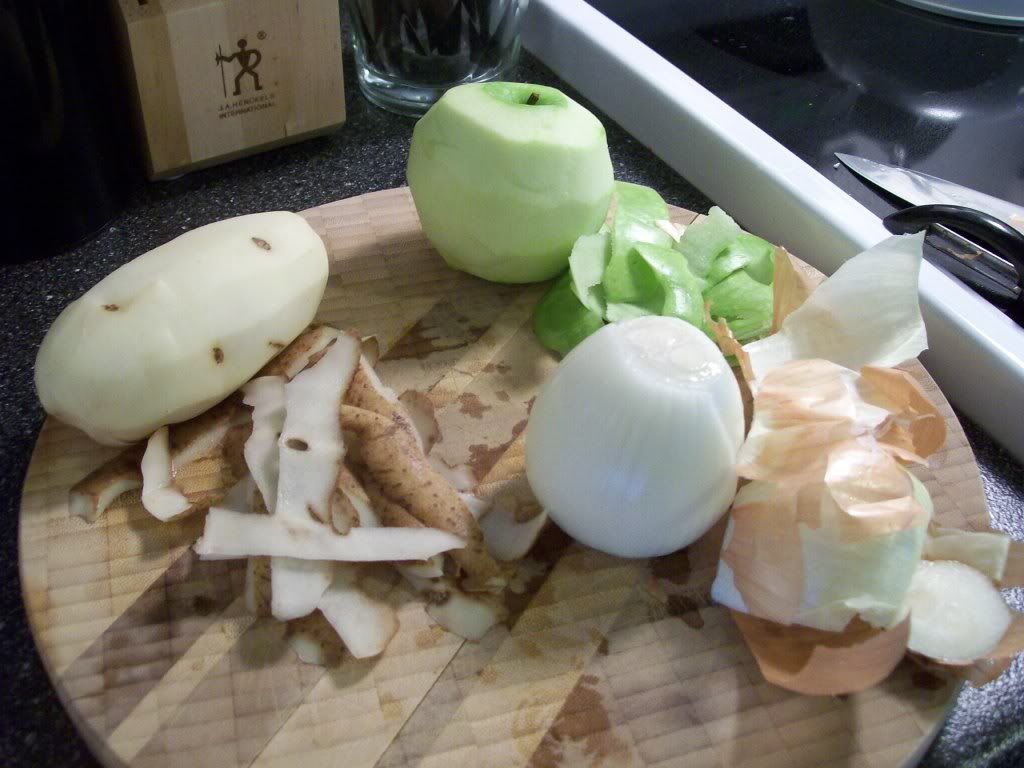
Grab one potato, one green apple, and one sweet onion. This is called an Onion Pye, but it could just as easily be called a potato pie, or apple pie, or egg pie, really....you use just as much of these other ingredients as you do onion. Peel all of the above (except the eggs, of course.)
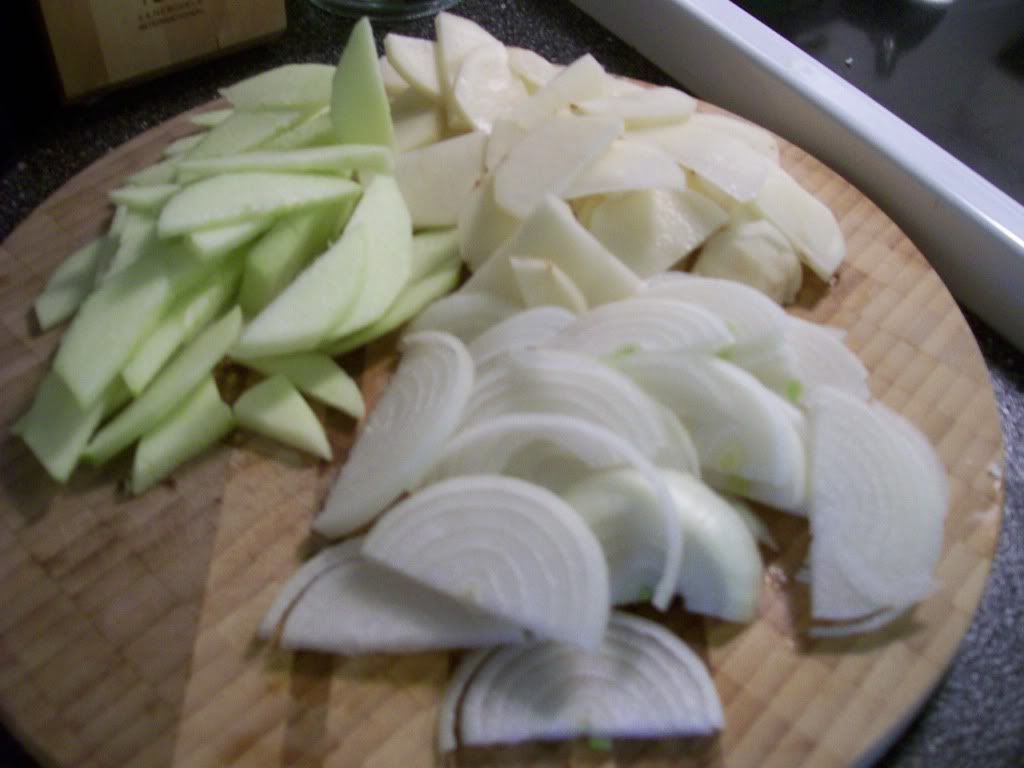
Thinly slice the apple, onion, and potato.
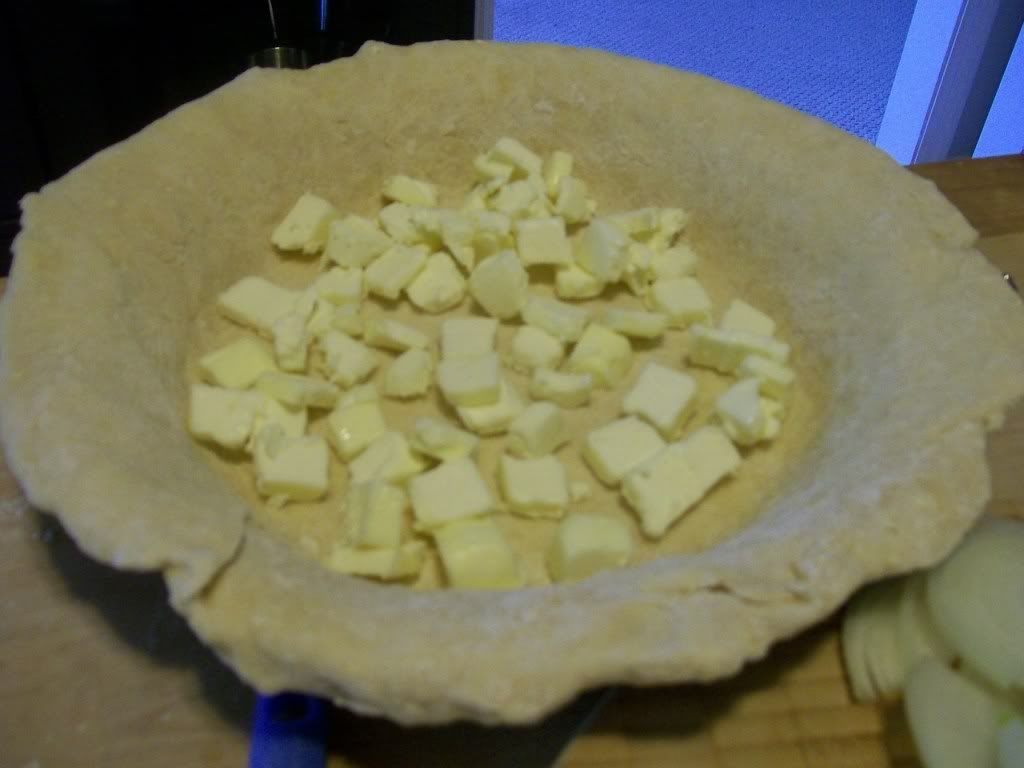
This pie calls for a LOT of butter. But, you can't really tell once it is cooked. I suppose the potatoes, apples, crust, eggs, etc sort of soak it up, and cook well with it. I think all of that butter is necessary in order to keep from making the pie too dry. Cut up one stick of butter into bits and place them in the bottom of your pie crust.
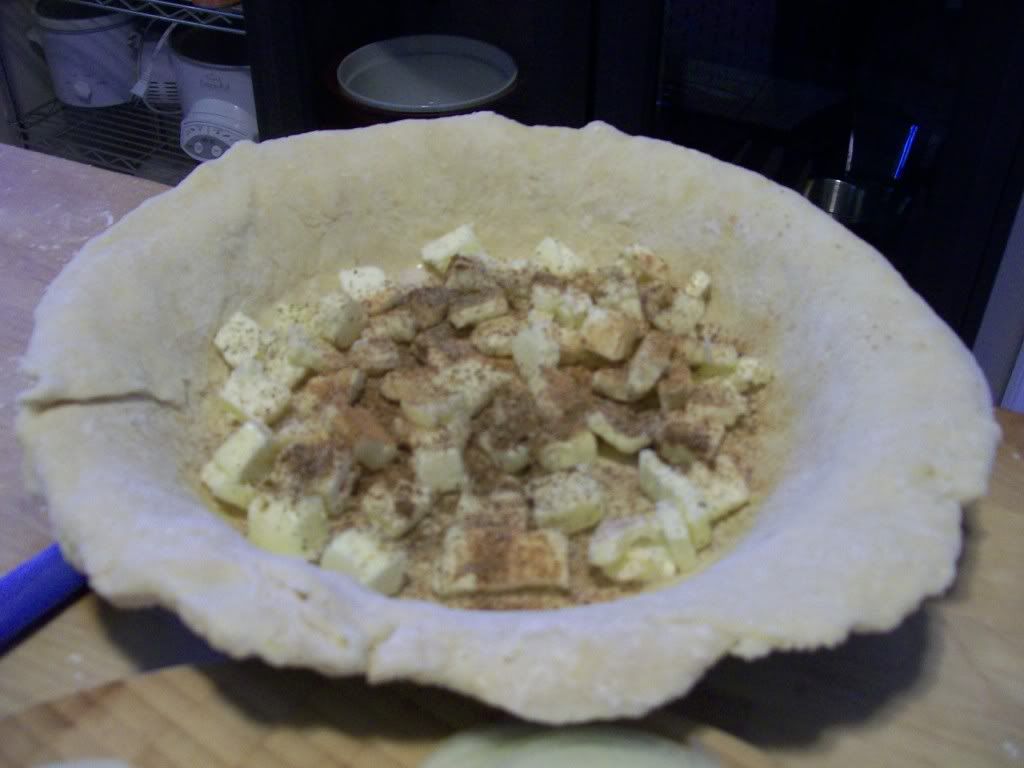
Sprinkle your salt, pepper, nutmeg and mace(I used allspice) over your butter. Take it easy on the nutmeg and mace...they can easily over power everything else.
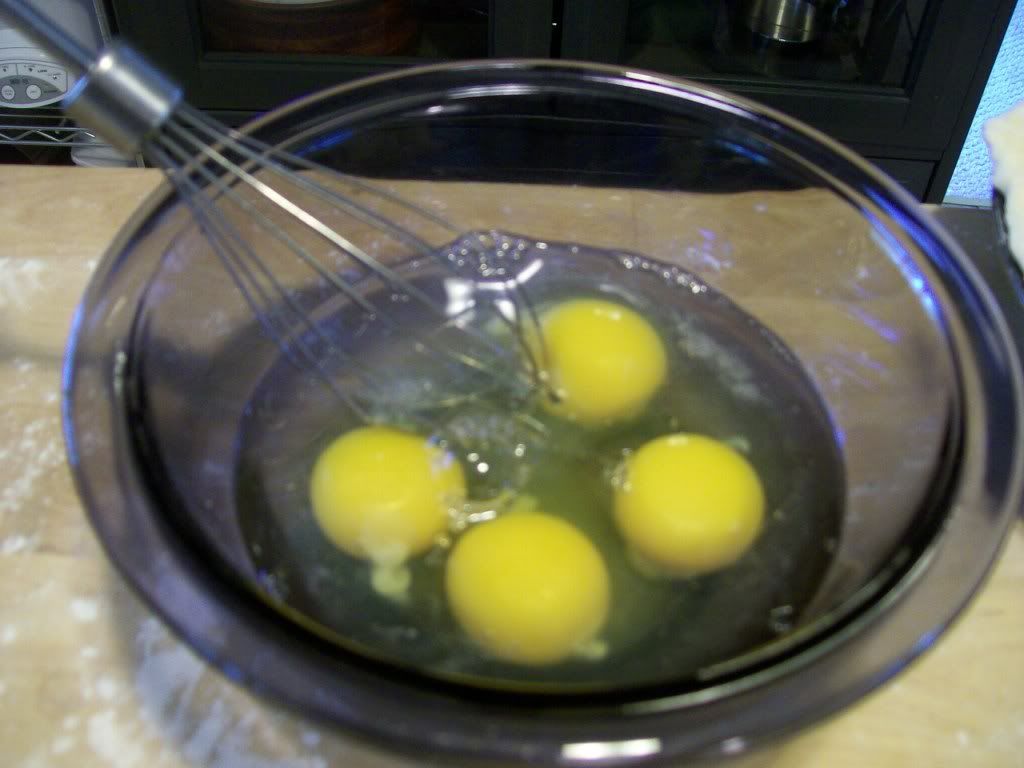
In a separate bowl, whisk your eggs. The recipe called for a dozen, but I only used 10. Really, it's all I had, but it was more than enough. Sorry, there are only 4 in the picture...I thought for sure I wouldn't need very many to fill my pie, and I didn't want to waste eggs. As itt turns out, I really did needed that many.
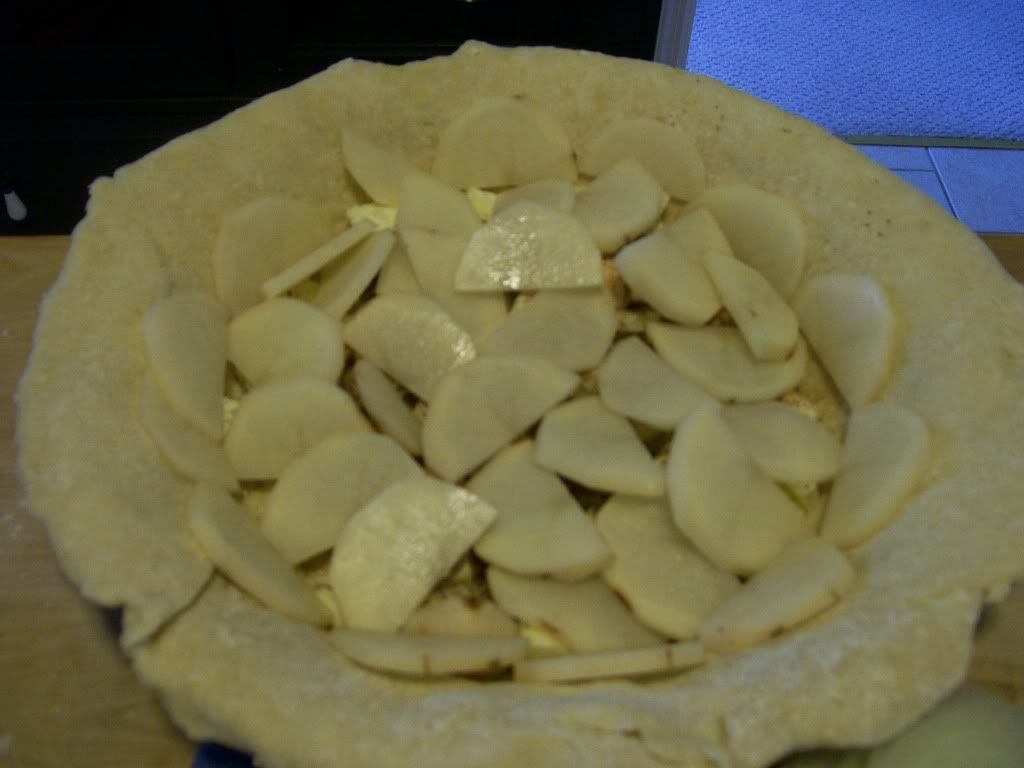
Layer in your potatoes...
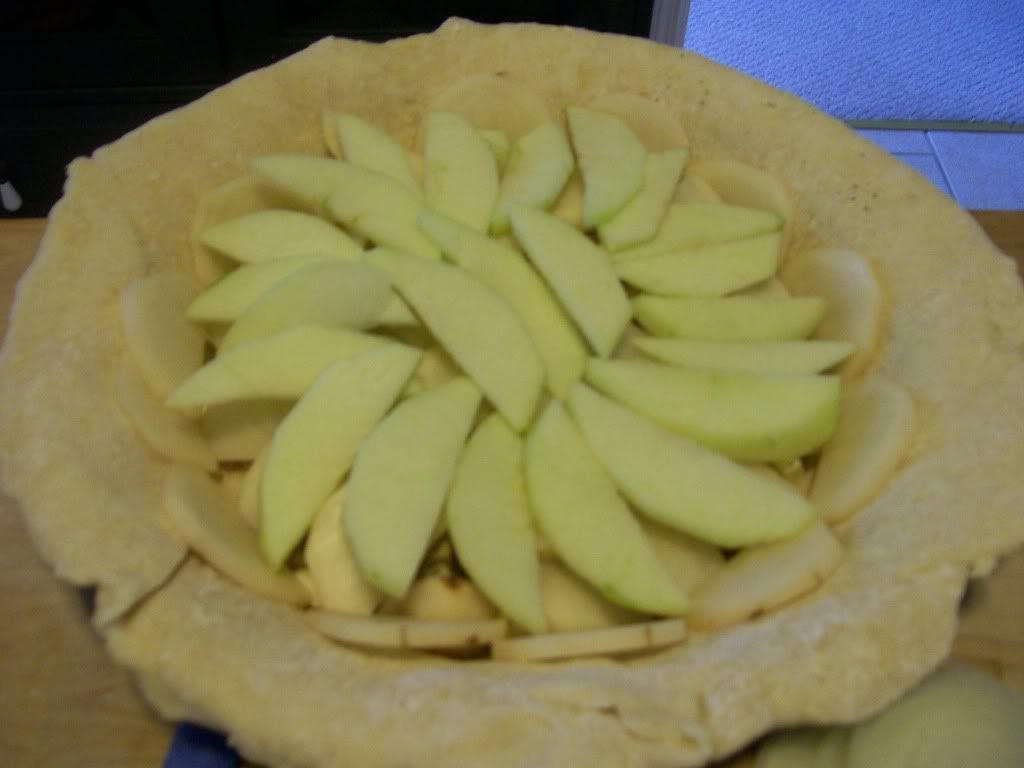
...your apple slices...

...and your onions.

Season with a little more salt, pepper, nutmeg and mace(allspice).
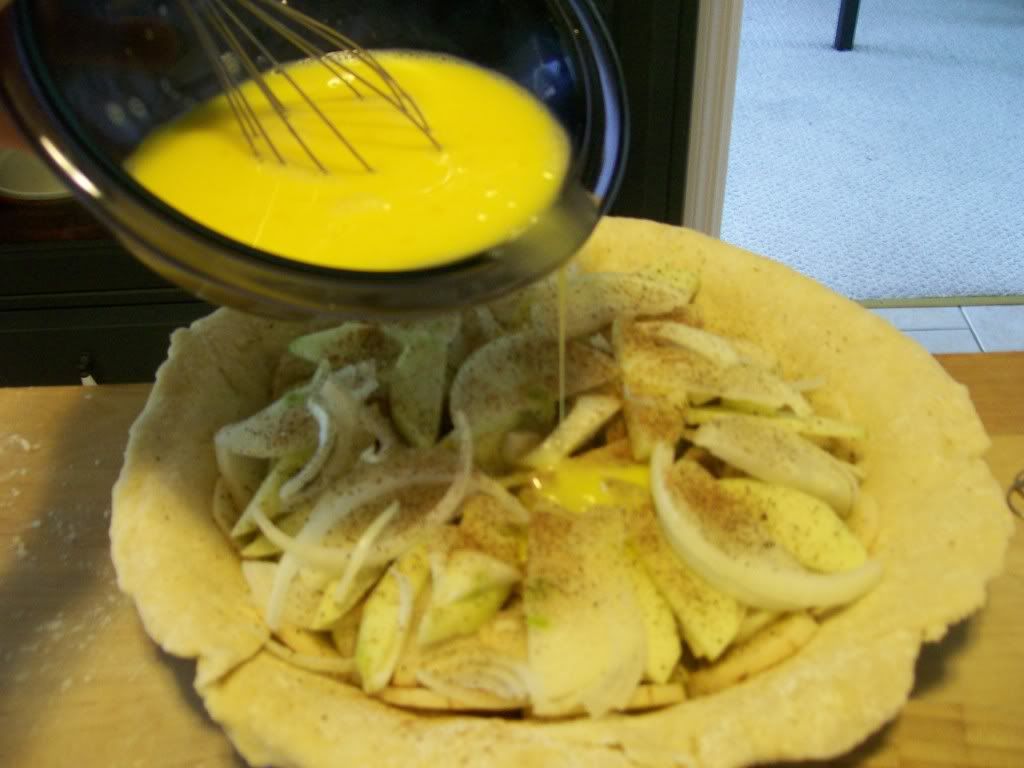
Poor in your eggs until nearly everything is covered. You don't want to overflow your pie.
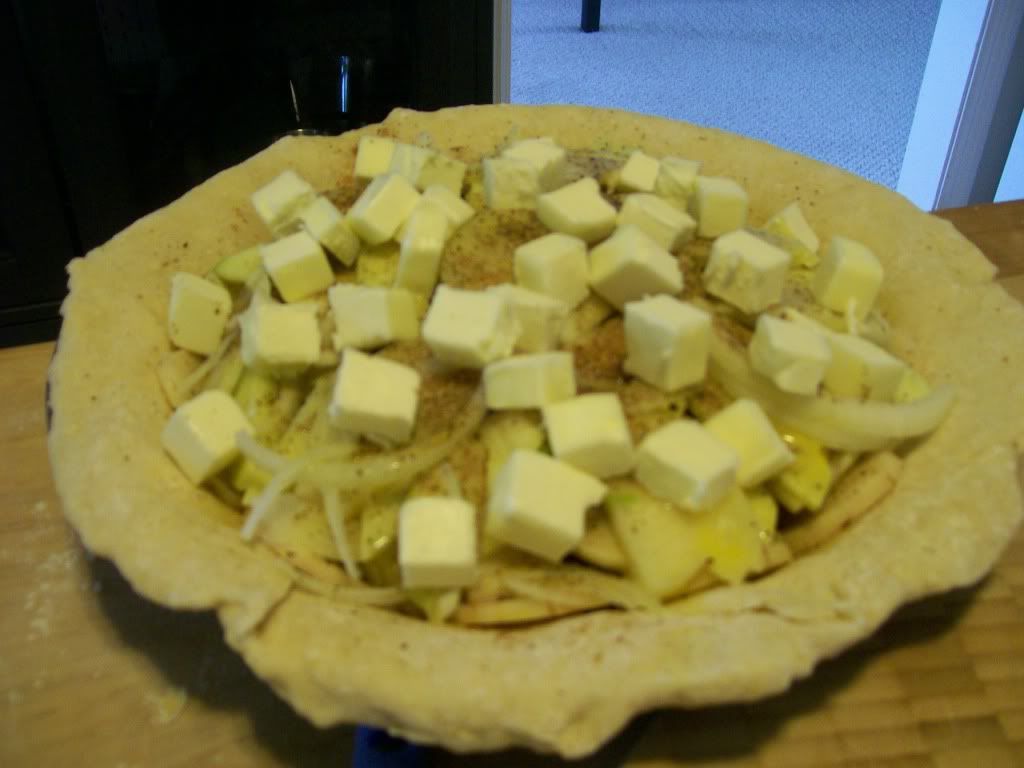
Chop up another stick of butter, and scatter the pieces around the top of the pie.
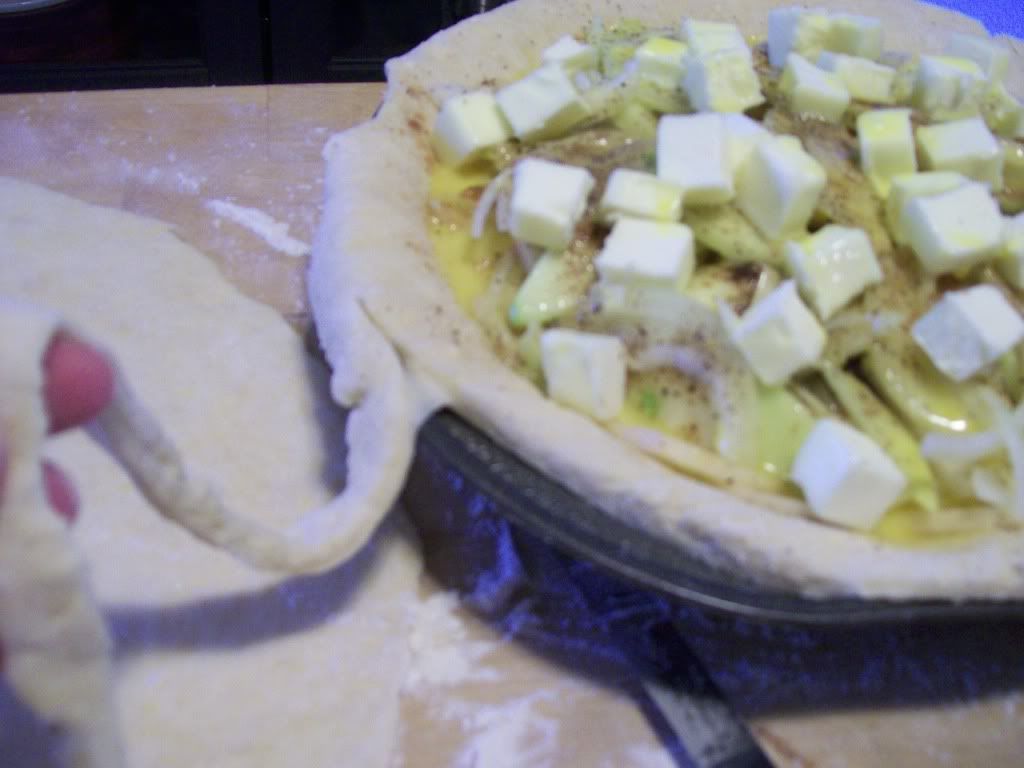
Use a knife and trim off the excess dough. Save it!!!! Don't toss it out...you will see why in a second.
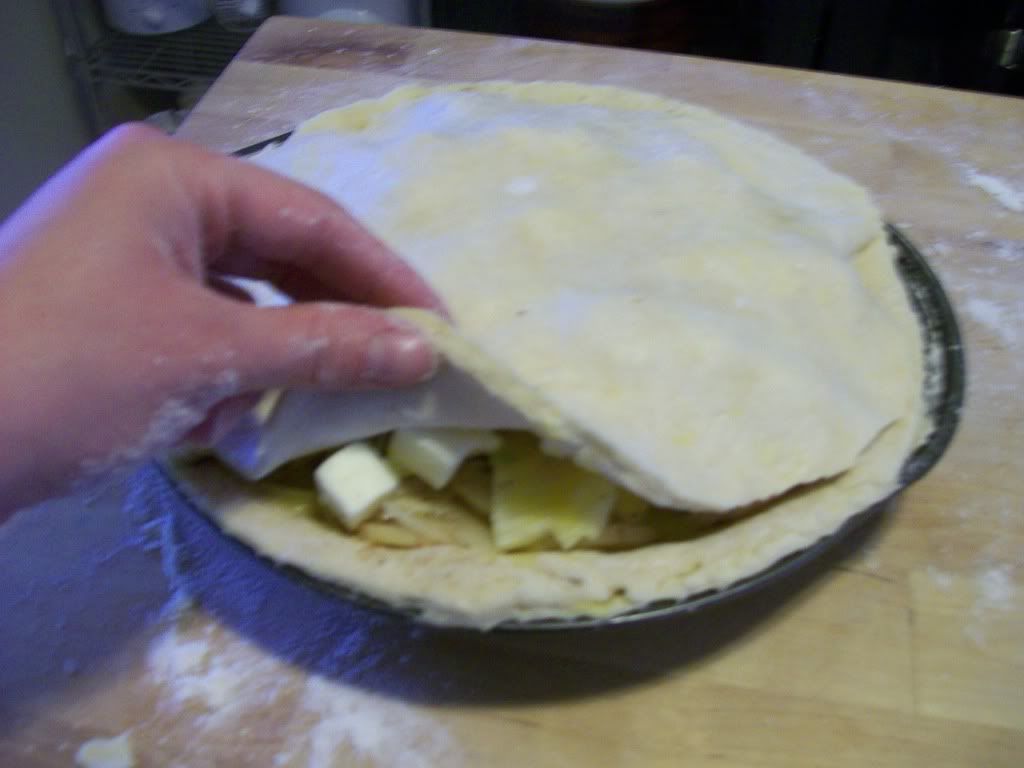
Roll out your second half of the dough. I used another pie plate as a template, so that I could cut a perfect circle. You will not want to make this top crust too thick, because you will be decorating it later. Once you cut out the circle, save the extra dough from this half too!!! Place the circle on top of the pie, and crimp together gently around the edges, just enough to seal it up.

Now, use your extra dough scraps...the ones you cut off of the pie shell...to sculpt your masterpiece. I started by taking a long thin strip and rolling it up into the shape of a rose. I cut a small whole in the top pie crust and placed the rose down inside of the hole. I use a small knife to cut a sort of steam vent in the center of the rose.
Next, I used a knife to cut little oval shapes that I used as leaves. I used a butter knife to gently press the leafy vein texture on to the ovals, and then evenly layered them around the top of the pie crust. One thing to keep in mind...you will need to brush a little water over the top of the pie crust, and on the bottom of each leaf. This will help the leaves to stick to the pie.

If you have enough crust left over, roll it out into a long snake-like coil, and twist it around the edge of the crust. The only thing left to do before baking is to cut a few vents in between some of your leaves, and brush the top lightly with an egg and water wash.
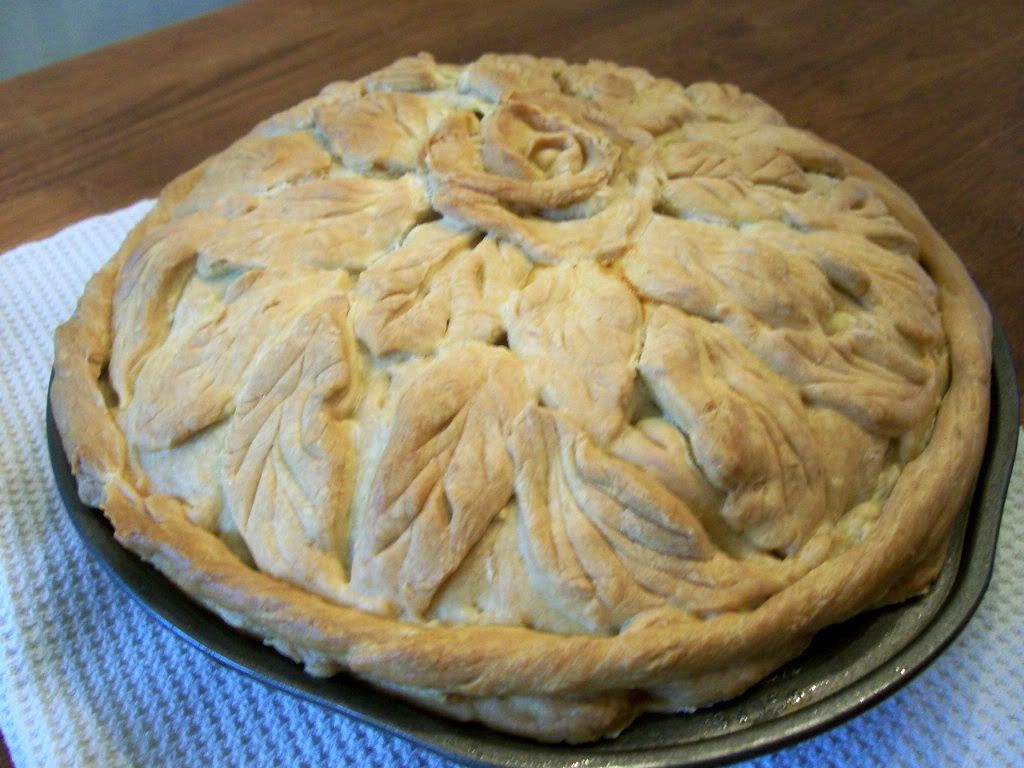
I baked my Onion Pye for about an hour and a half (just like the recipe suggested) at 325 degrees F. I turned it half way through, just because my oven gets a bit hotter in the back, and I wanted it to be evenly baked through.
I probably could have been more careful with the sculpting aspect, but it was a late week night when I made this, and I was very tired. It wasn't hard to make, but when you spend the whole day playing art teacher to crazy kids, the last thing you want to do when you get home is sculpt dough. I rushed it.

I supposed it could be made without the fru-fru-ness on top, but really, getting over my weariness, that's the fun part, isn't it? The results, though, were worth it. It was a little on the heavy side, but made a lovely, practical dinner with a side salad. It would have been an equally delicious brunch food in my opinion. It was a little like a savory potato and onion quiche, but the apple and nutmeg gave it an ever so slight hint of sweetness. It was a good balance.


Comments
Thank you for sharing,
Sabine
Yum! Apples and potatoes go so well together; it's interesting to see that they were paired together in earlier centuries, too.
Hugs,
Natalie
I'm so happy to have stopped by. I love it here and am now a follower. This recipe is truly a must for my table in the near future. Thank you for sharing it. So nice to meet kindred souls while blogging.
Blissful Tidings,
Sandra
this was one of our favourites on the latest picnic - thank you for sharing the recipe!
Sabine