Snowshill Jacket: Diamond Quilting and Hood Construction
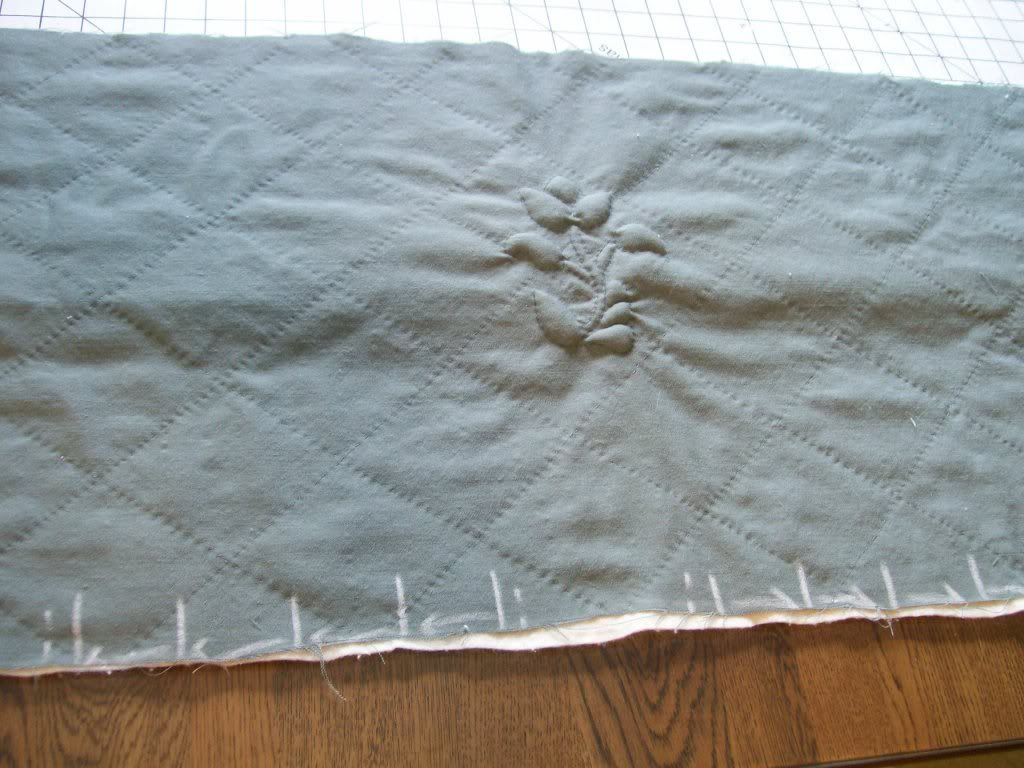 Another Snowshill Jacket update for you. I've finished about half of the hand quilting on the jacket, and you can see in the picture to the right (which is of the hood) how the diamond design looks. I decided against the "scale" design for the hood. It just seemed a bit too snake-like or dragon-like, and I am not in the mood lately to stand out in a crowd. A little bit of scale motif on the false front will go a long way.
Also, Sabine asked if I would do a tutorial on how to pleat the hood. I'm not sure how good I will be at explaining it, but I will do my best. Putting the hood together will give me a much needed break from all of the hand quilting. The hood will be lined with silk, and even though I won't show that part, the construction of the lining will be done in the same way.
A sketch of the trapezoid shape...per Natalie's request...

(updated: Picture.)
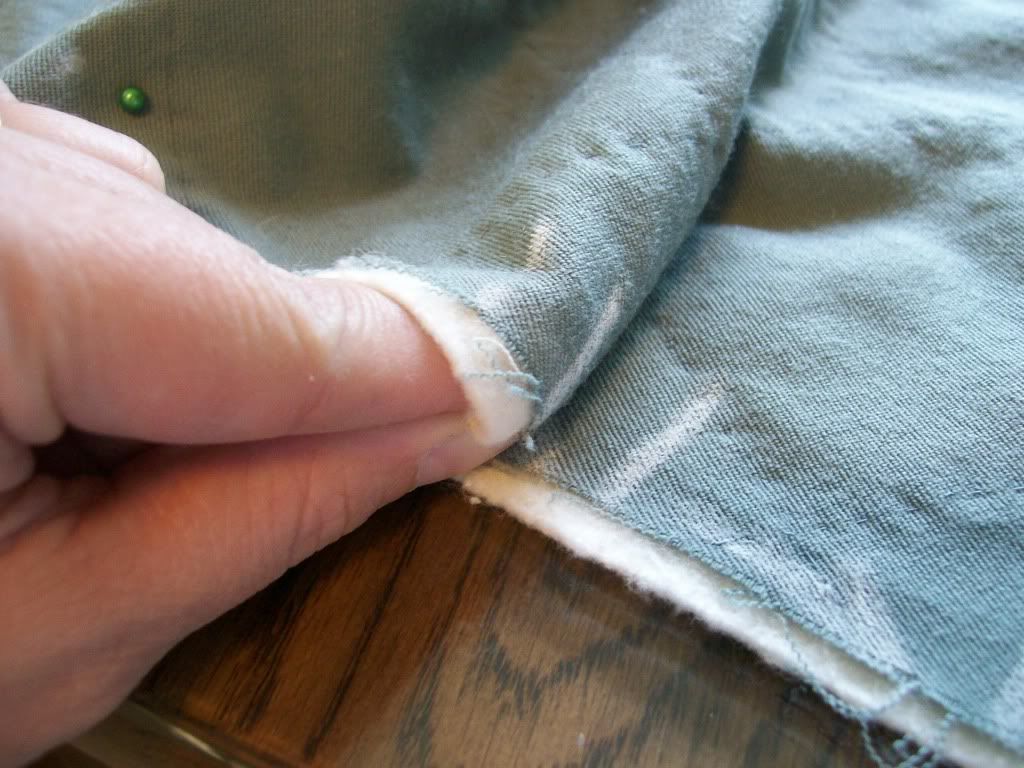
The hood is shaped like a trapezoid, with two short sides, and two long sides...one being longer than the other. The longest side is the top, or front, of the hood. The next longest side, which appears to be the bottom, is actually the back of the hood. The two short sides are really the bottom of the hood. Am I making any sense?
I will begin with the pleats that form the back of the hood. I marked where the pleats will go on the bottom edge (which is really the back) of the trapezoid using the scaled pattern from Patterns of Fashion.
Working from the center out on the bottom edge of the trapezoid, fold over the first pleat so that the two solid lines meet.
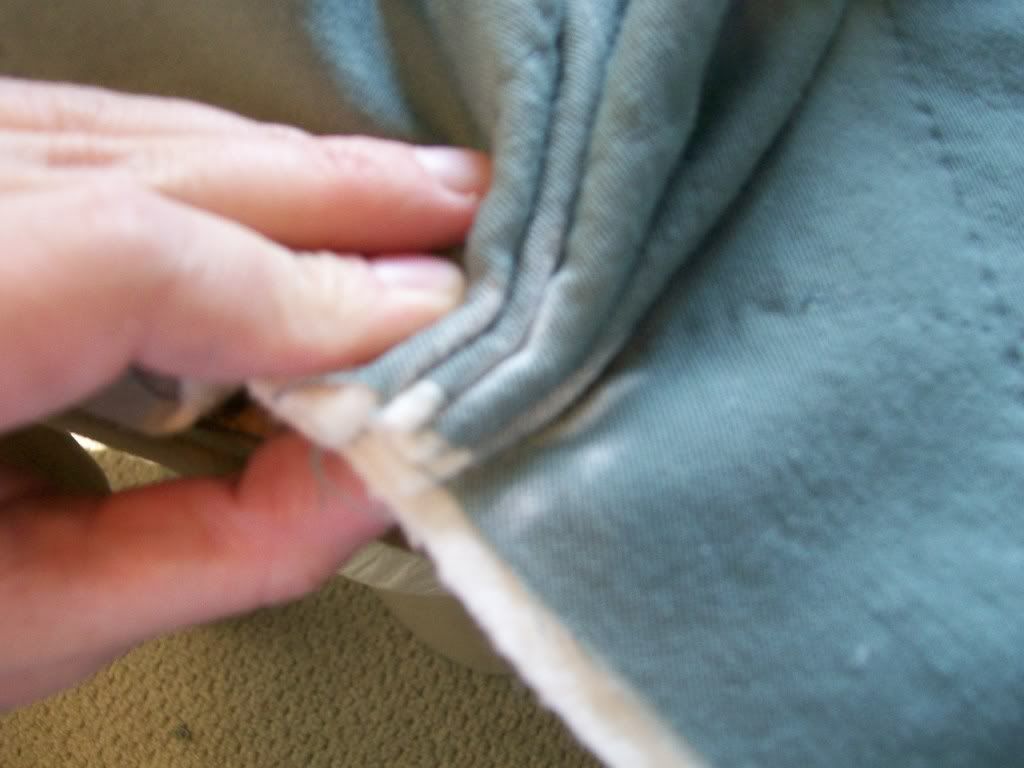
Continue across, in the same fashion until you have all of the pleats stacked on top of one another.

Baste through all of the pleats, and they will look like the above image.
Do the same thing across both sides of the bottom edge.
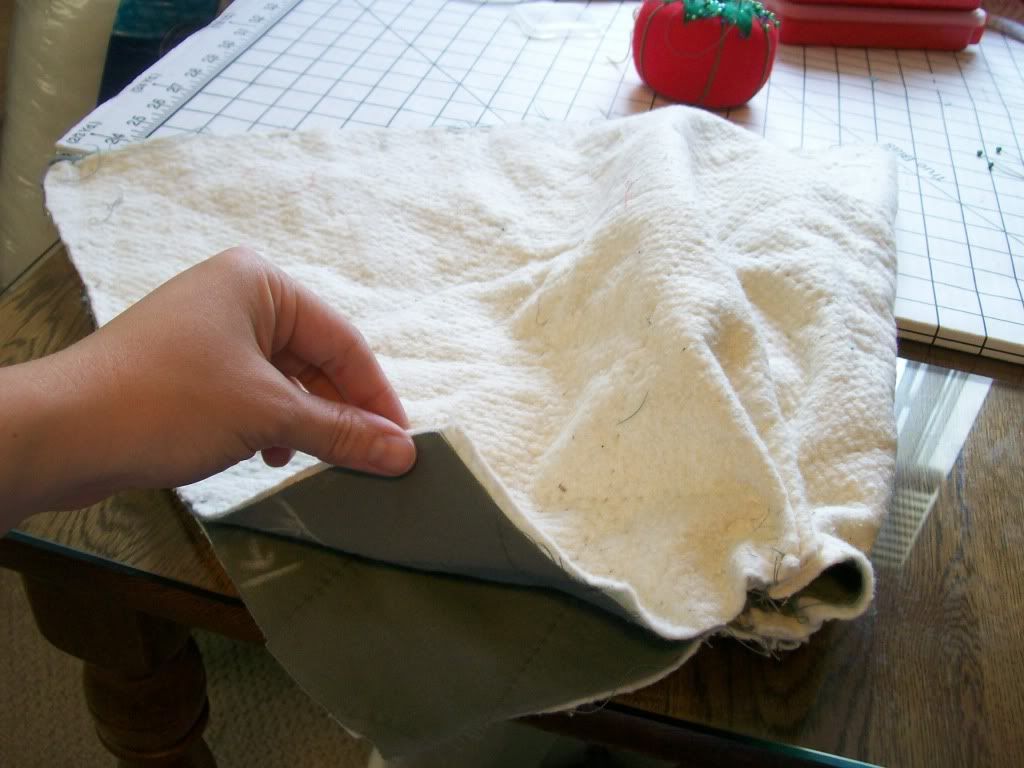
Fold the hood in half, right sides together, matching up all edges.

Pin across the bottom edge of the trapezoid (where you just made your pleats), and then stitch through all layers. I've marked where I stitched with a blue pen.
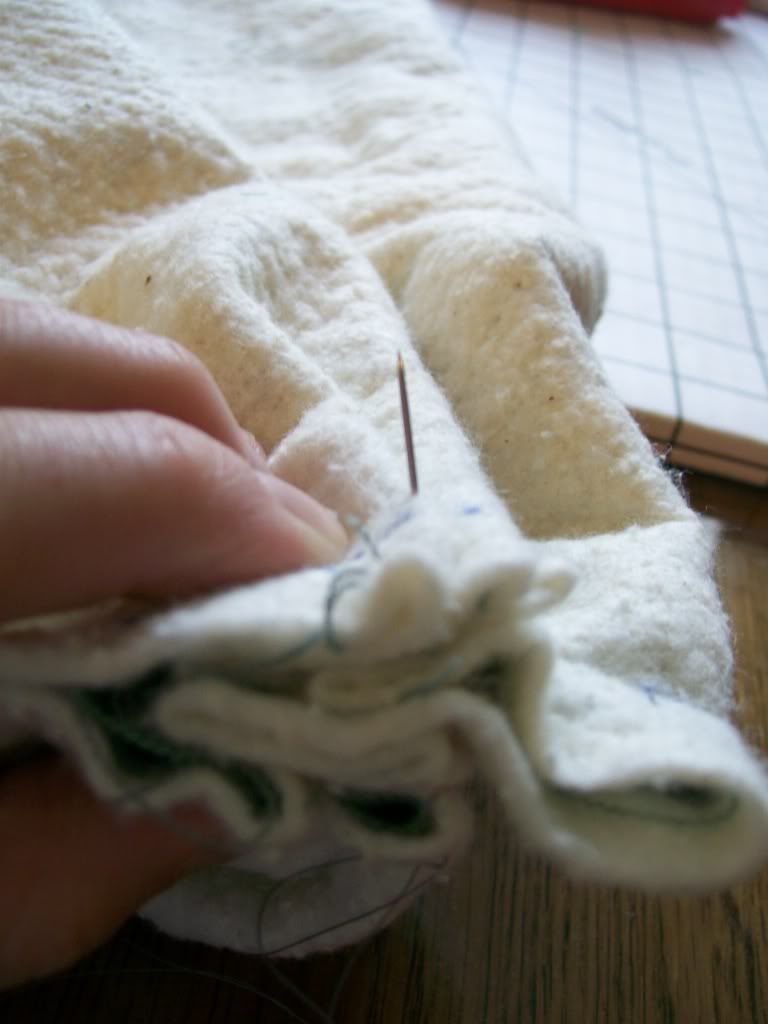
It wasn't easy to stitch through two layers of wool, and two layers of cotton batting. The hardest part though, was going through all layers of pleats. Just go slowly, and back stitch every time. It looks a mess, but it didn't turn out too badly.

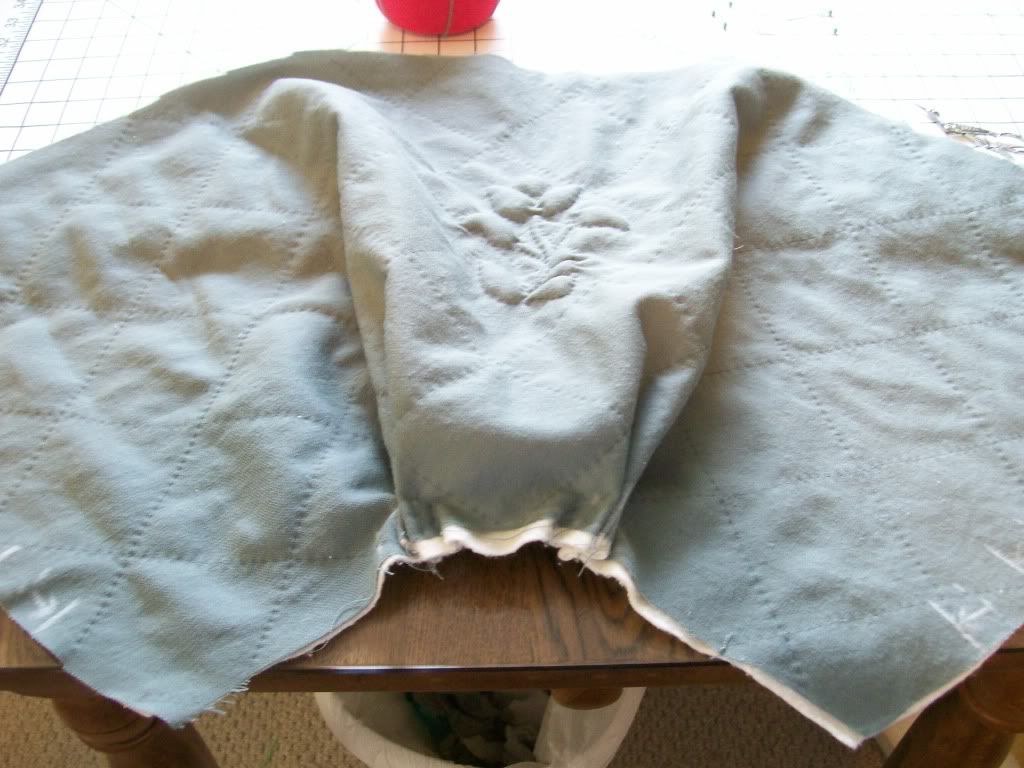
Here it is, stitched up the back. Turn it right side out.
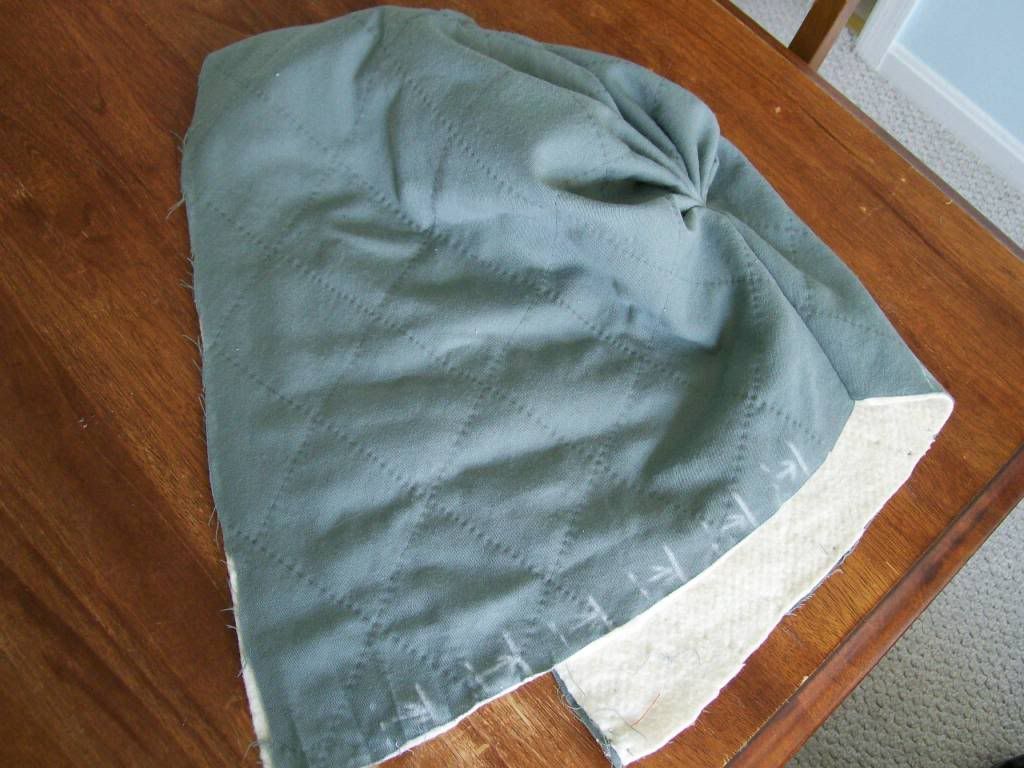
It should look like this. You can see that I've also marked where I will be pleating the bottom (originally the sides of the strange trapezoid shape) edge of the hood.

These pleats aren't so difficult. Just pleat and pin one at a time, working toward the back center, along both sides of the hood.
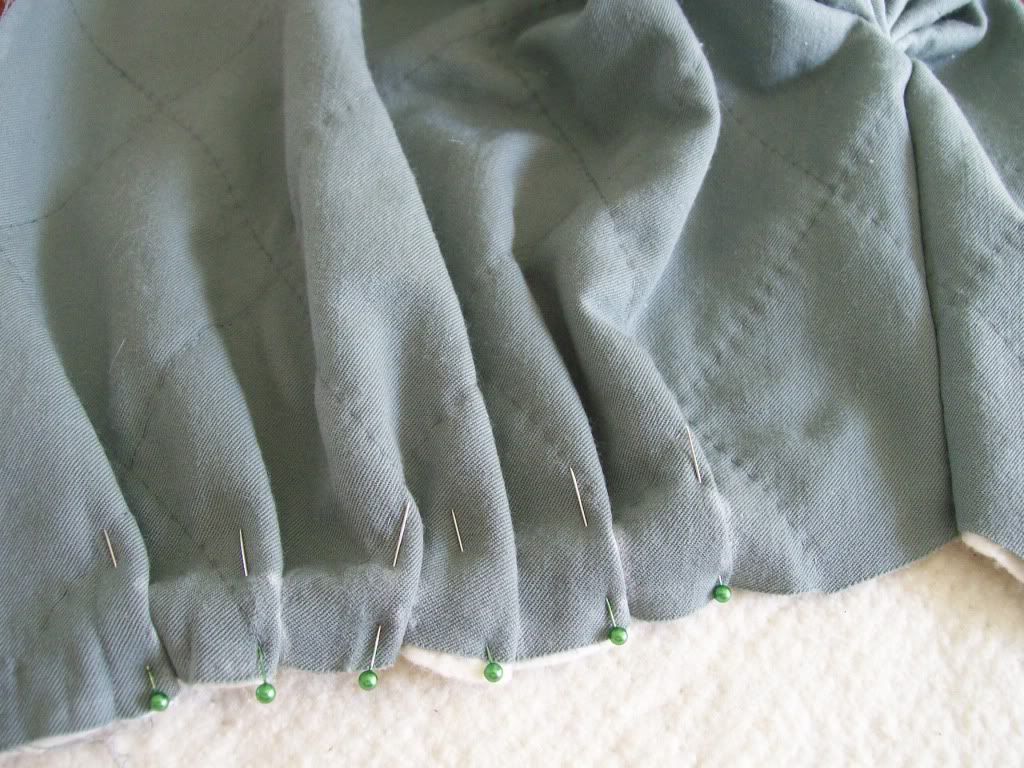
Baste all pleats.
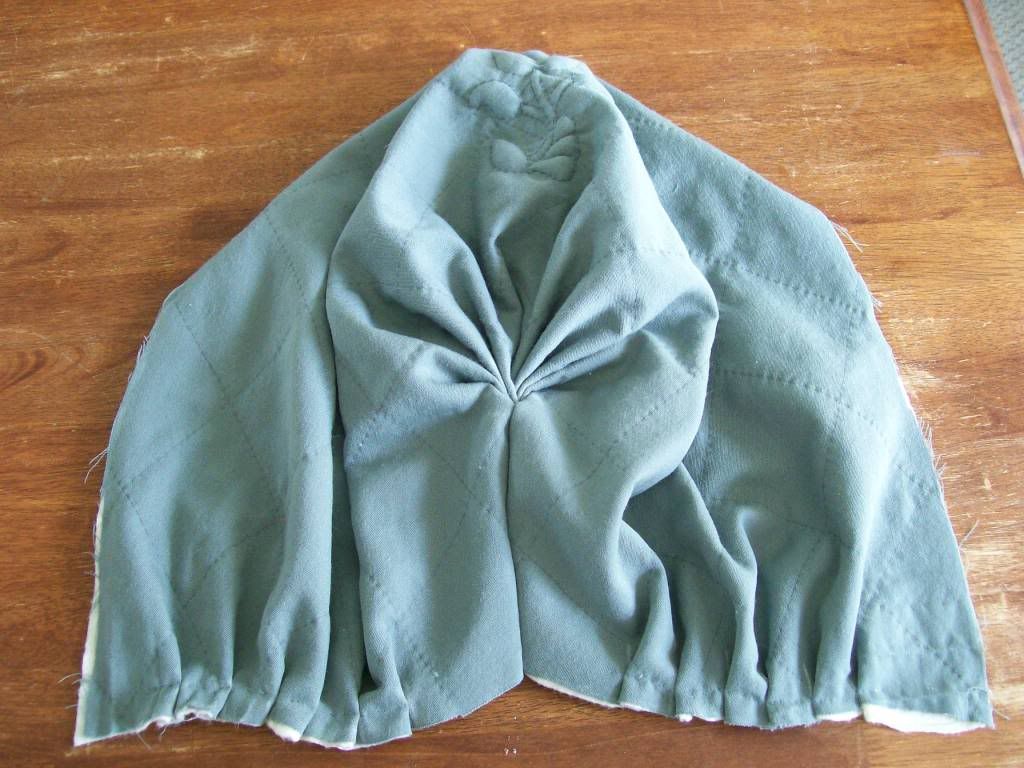
Here's a look at the finished hood from the outside.
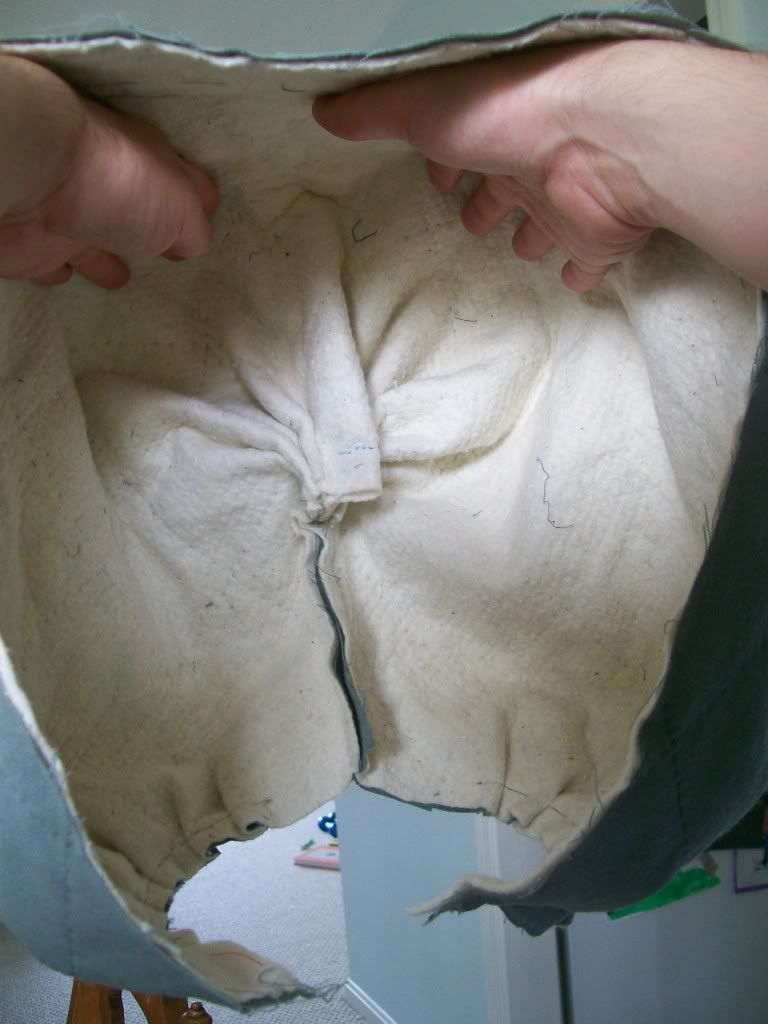
And from the inside (minus the lining).
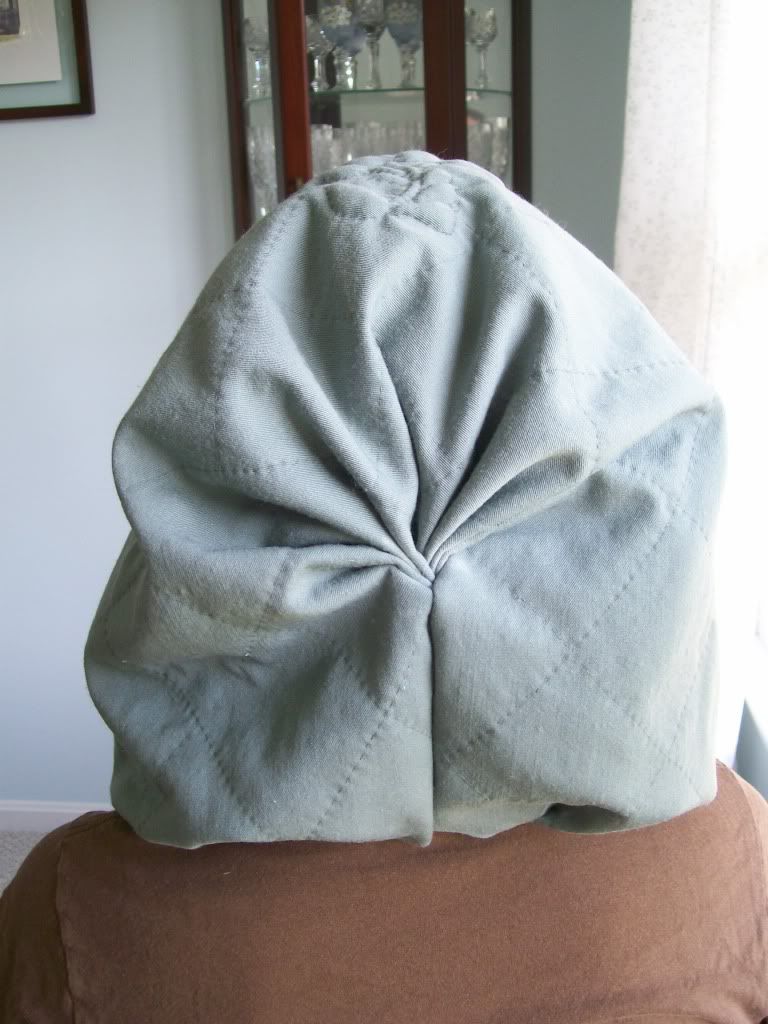
And a view of it on someone's head...

...not mine, of course. Poor fellow.


Comments
As usual, a really good tutorial, and the effect is great! Is there a chance you could add a sketch of that initial trapezoid with the pleat marks?
Tell DH he looks a treat :)
Very best,
Natalie
thank you so much for sharing! Your instructions are very clear and now I finally feel prepared to give the hooded cape project a try. (Which is a good thing as autumn is very much on the rise here...)
Also I do love your hand quilting and even if I sound like a broken record the colour is sooo very beautiful! This will be such a cute garment!
Sabine
I do have a question - what did you use to mark the blue dots? Did you use a tracing wheel and paper? or a special pen? I thought that perhaps the white lines were chalk on the outside...
I am enjoying this jacket! I've not have the courage to venture into historical sewing, but I might "borrow" your hood-pleating ideas for a winter coat for me...
Thank you for posting!
Kathleen in IL
The white marks is chalk. It brushes off easily. The blue is actually sharpie marker. I don't usually use sharpie, and wouldn't recommend it normally, but I knew that it wouldn't bleed through the cotton batting and the wool, so I used it.
I'm glad everyone is enjoying the tutorial!