Peg Loom
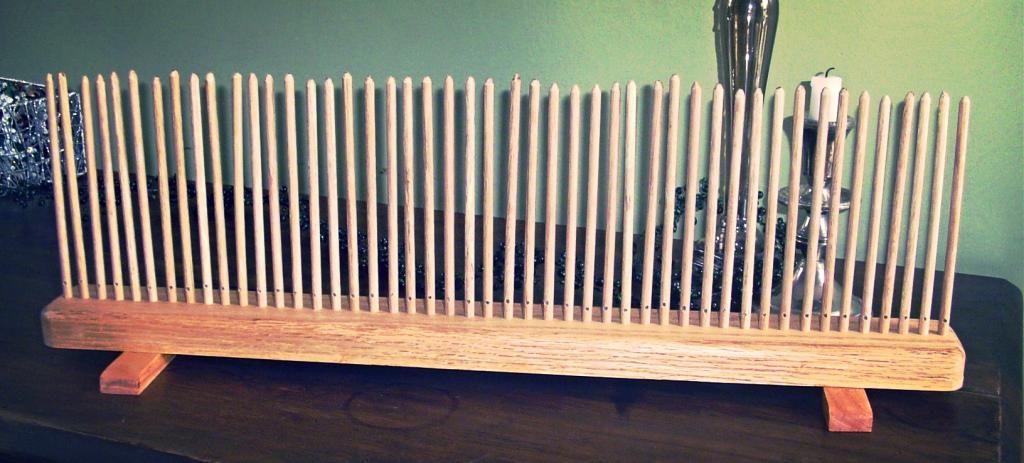
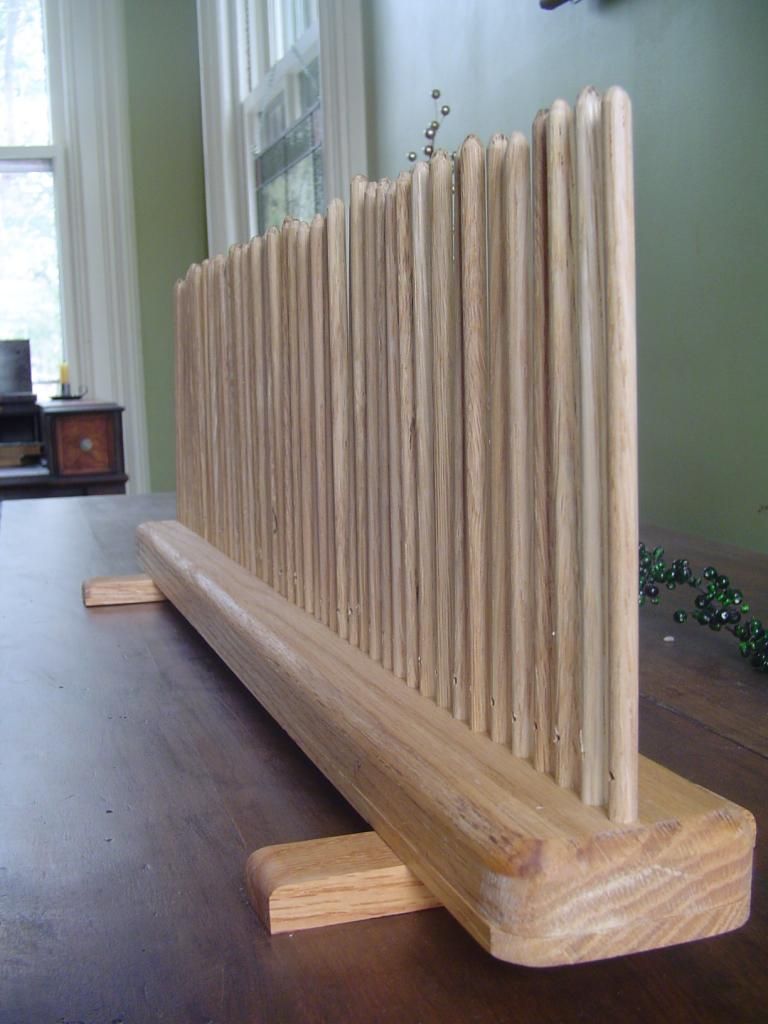
Recently, my talented father made me something that I will cherish to the end...a peg loom.
Sewing costumes aside, I've become increasingly interested in textile arts of all sorts. Specifically, small wool farms and shepherding have captured my interest. Last week I picked up a book called, Adventures in Yarn Farming: Four Seasons on a New England Fiber Farm by Barbara Perry. It's a calming read, and now I want to buy a farm and raise sheep. I love the whole process, from sheering sheep, to spinning, to dying the yarn. I don't know exactly what I would do with all of that yarn. I am an horrible knitter and crocheter. But weaving...now that's something I can do.
I've used traditional looms like this one before, but I was curious about other types. One night, during a mindless wondering of the internet, I stumbled on a video of a women weaving on a peg loom. Of course, the history of it fascinated me, but so did the simplicity. I knew my dad could make me one, and he agreed.
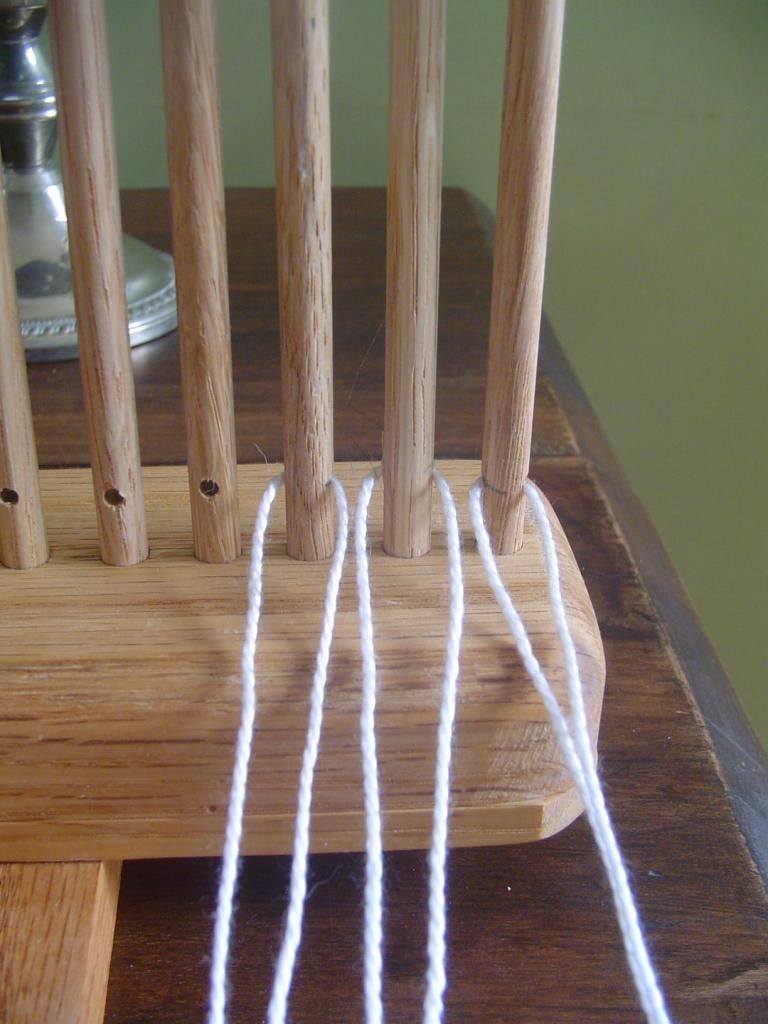
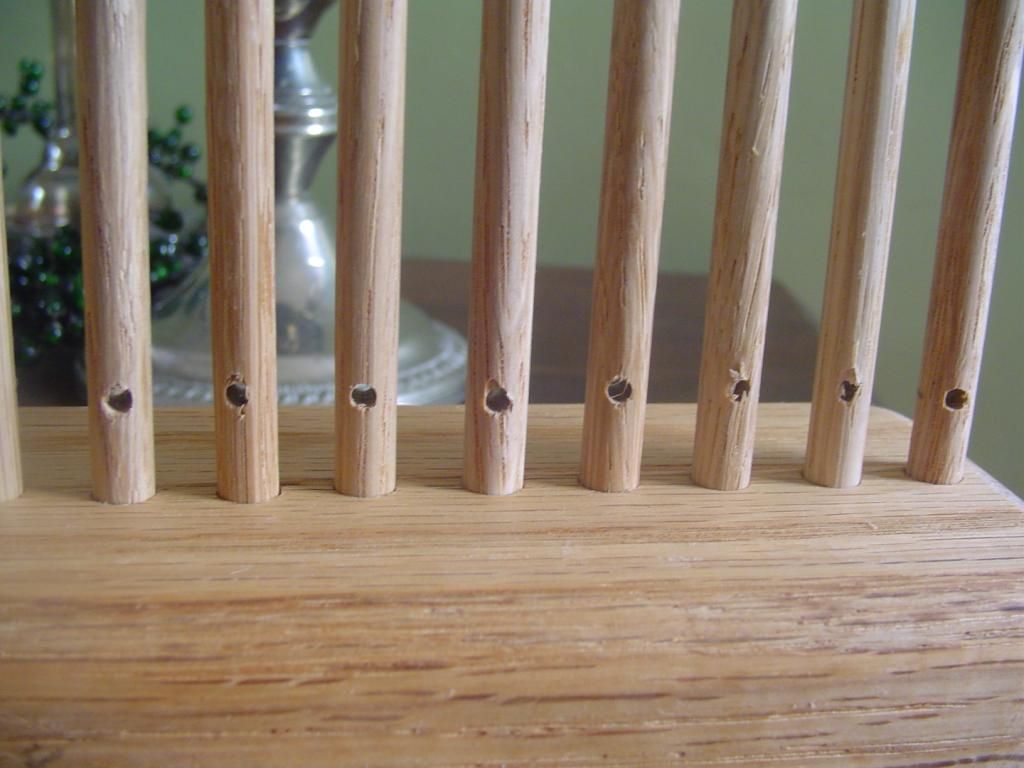
The warp strings are threaded through each removable peg.
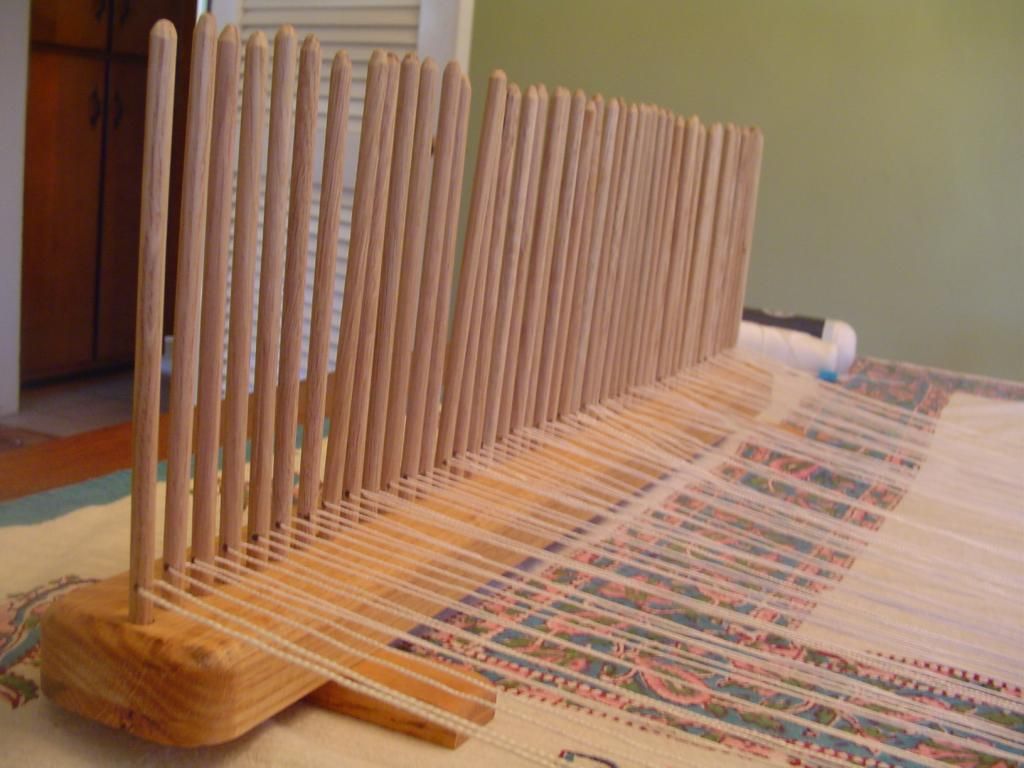
This process takes a few hours, and can be frustrating, because the strings tangle easily. Your warp strings should be as long as you want your rug to be.
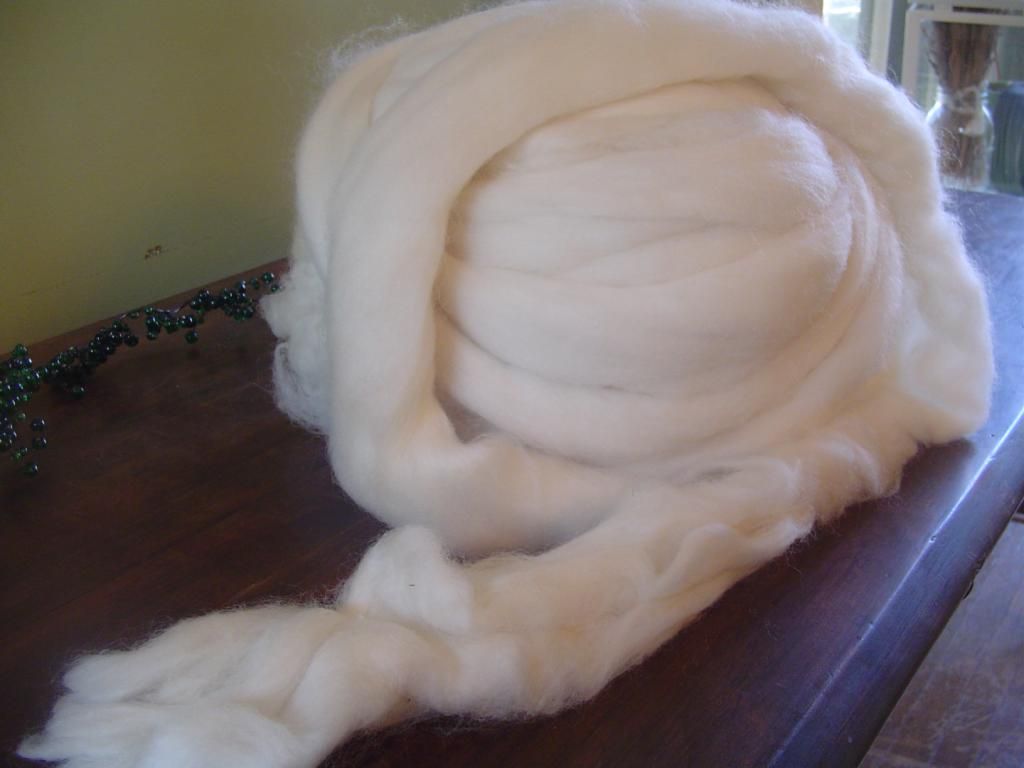
I bought a pound of this gorgeous Falkland wool roving. It still smells like the farm it came from. I like that smell...fresh and humble. My goal is to make a small rug for my bedroom.
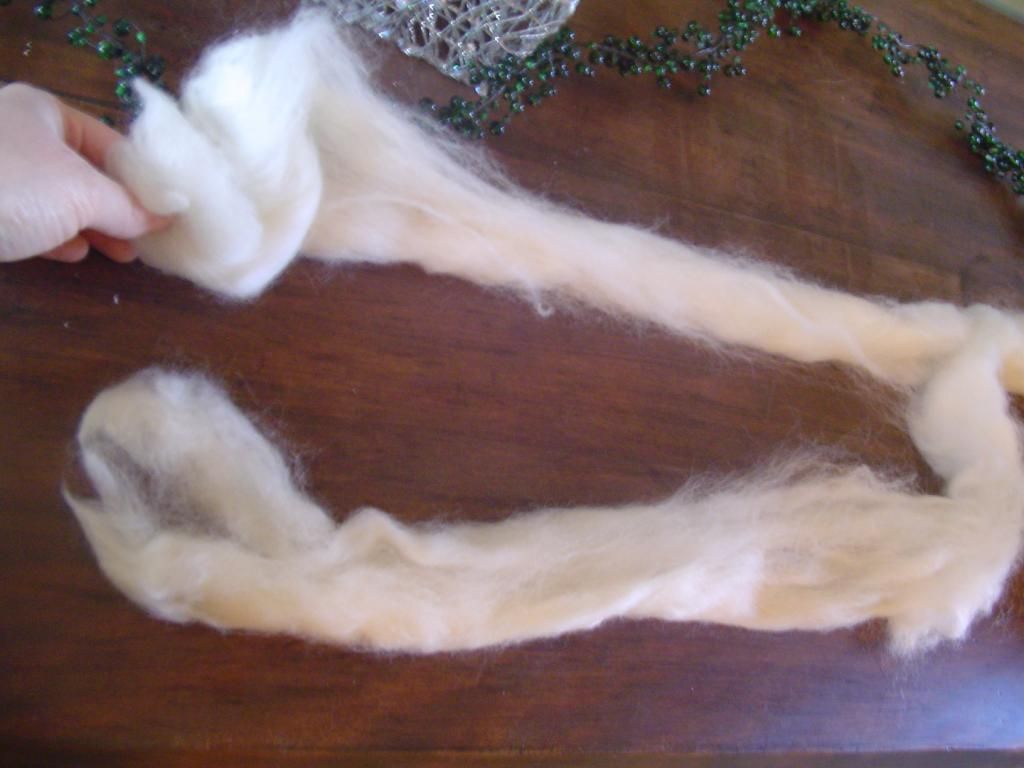
First, I divided the wool in half.
Then, I divided it into quarters. Dividing it is easier than it seems. It pulls apart fairly equally as if it's made to do that. I suspect it has something to do with how it was originally carded or pulled together.

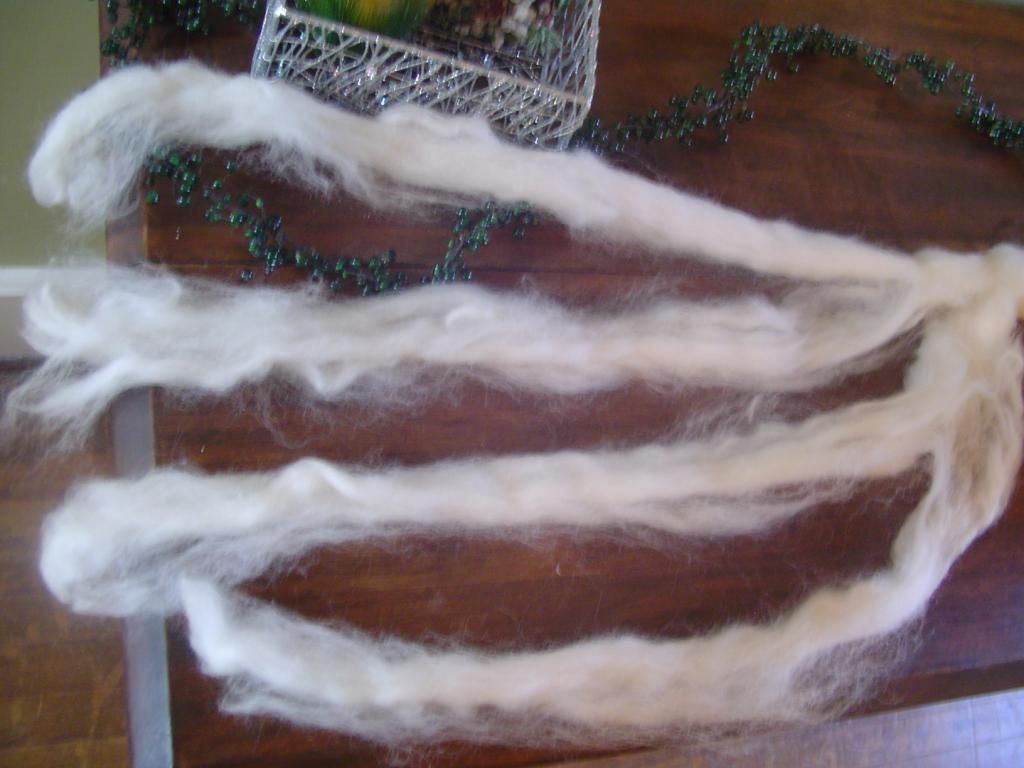
Four piles of somewhat equal in size wool. Beware of wool snatching cats. I think it must be a drug to them, I can't keep them away from it. I have a bad feeling that my cats might claim this rug as their own.

I rolled each pile into tidy little balls.
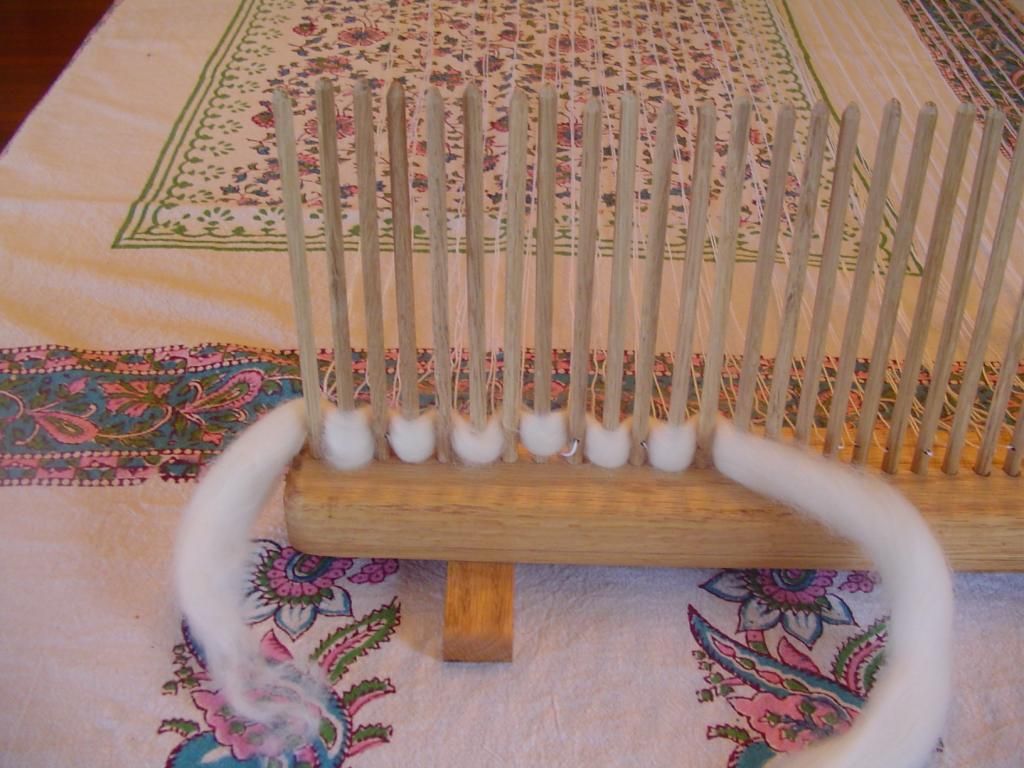
Weaving on the peg loom is simple. Start at one end, and weave the wool in and out between each peg. When you get to the other end, go back the other direction, weaving in and out the opposite pegs. I attempted to make a (very crude) video documentation of the process. I am NOT a videographer, so, unfortunately, it was filmed in several shaky parts.
part 1
part 2
part 3
part 4
part 5
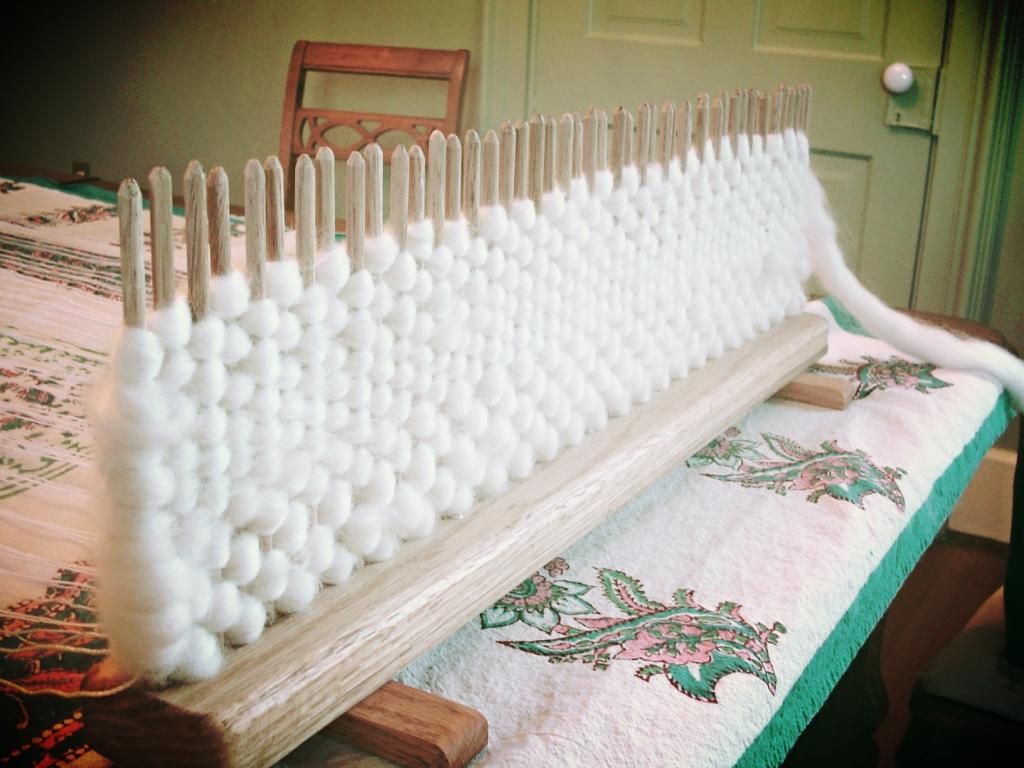
This is what it looks like once the pegs are full, before you slide the work down onto the strings.
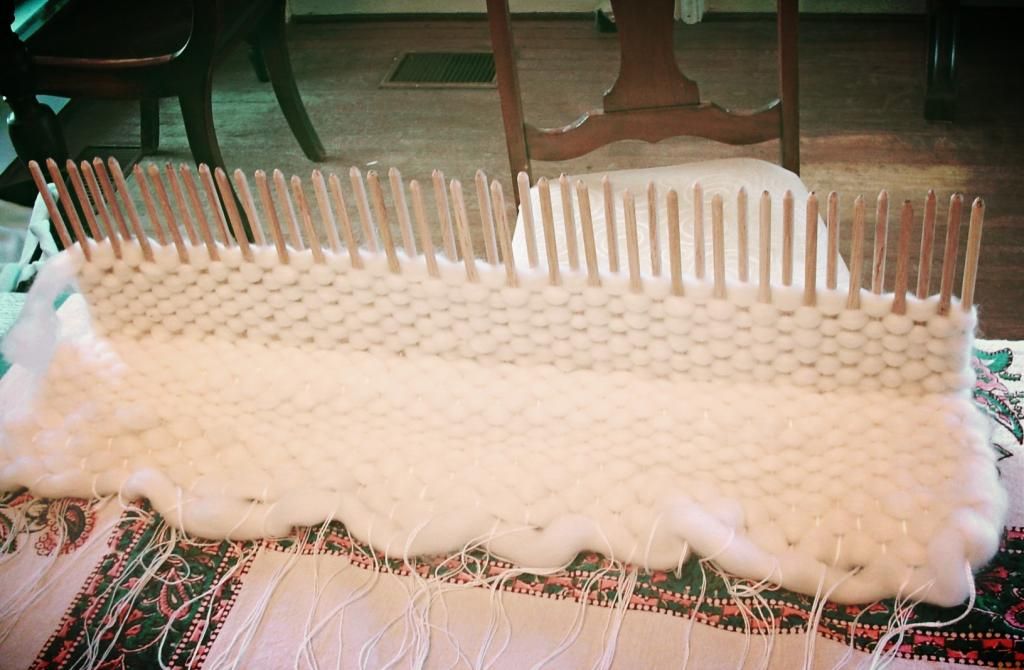
Here it is with part of it slid down, and some more weaving on the pegs. I forgot to mention in the last video clip, that you will need to pull on the strings and "snug" up the woven part so that it's closer to the pegs before you start your new batch of weaving. Otherwise, you will have a big gap between each woven section.

It is such a soothing, and basic craft...I love that about it. As is the case with any craft, the more I weave on the loom, the better I get at spacing and how tight I should make each row. I know that I will have to purchase more wool, because one of the four balls I made only makes about a foot of woven rug. I might buy a grey wool, and do a striped pattern.
When the rug is done, I will show the final result. But my next post will, hopefully, be about the Jane Austen Quilt I've been working on for years. I am OH SO CLOSE to being finished with it.


Comments
Peg weaving! That rug is going to be oh-so-cozy for your toes -- okay, really for the kitties' toes. You *think* they'll claim it? They're already doing so with the roving :}
I am drop spinning a good bit and start regular spinning on a wool wheel soon...do let's have an afternoon of playing with wool!
Hugs,
Natalie
Ooooh, yes! Let's play with wool! When do your boys have spring break? Email me!